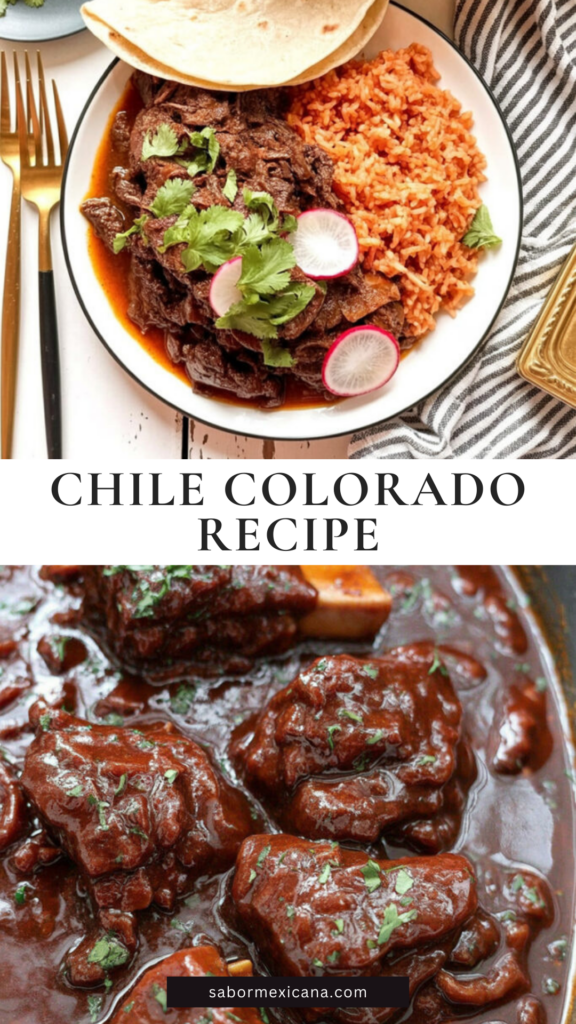
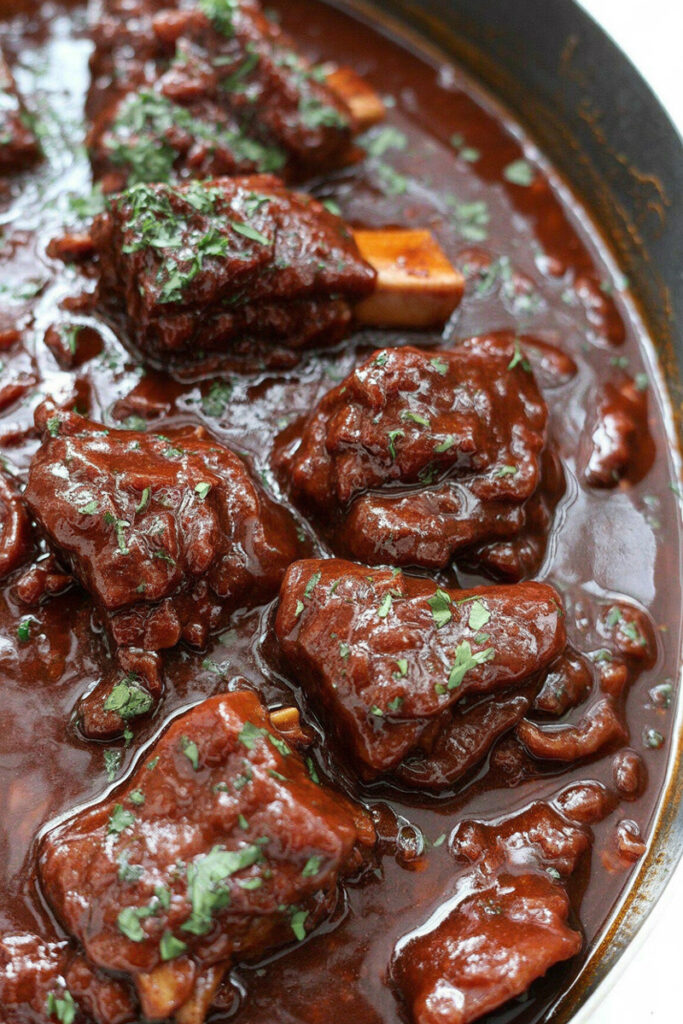
Hey everyone, welcome! Today, we’re going to tackle one of my absolute favorite dishes on the planet: Beef Chile Colorado.
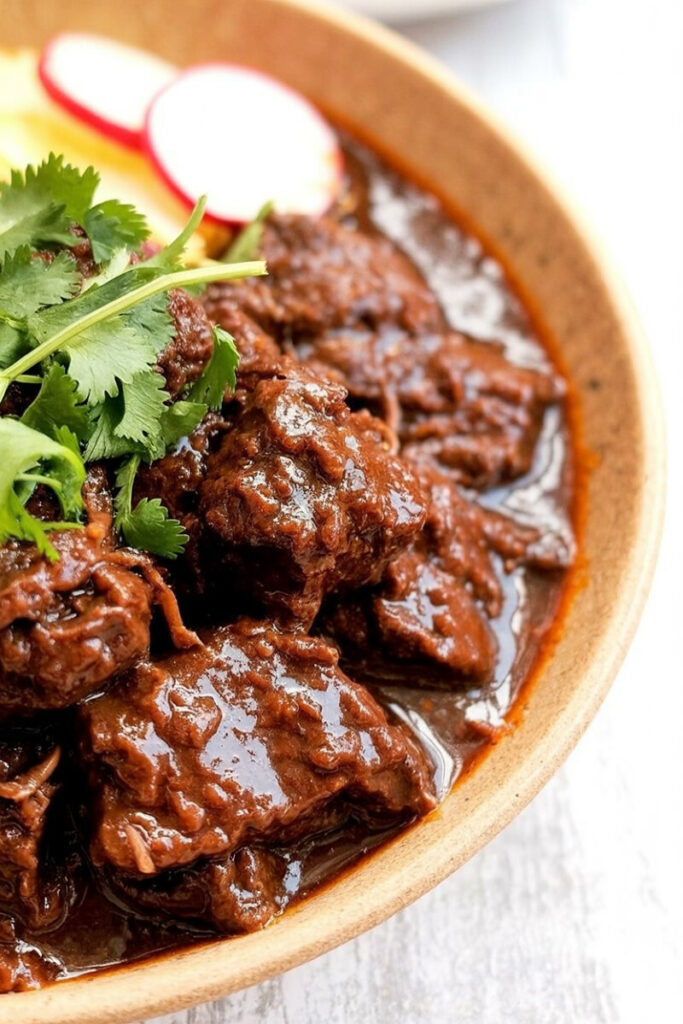
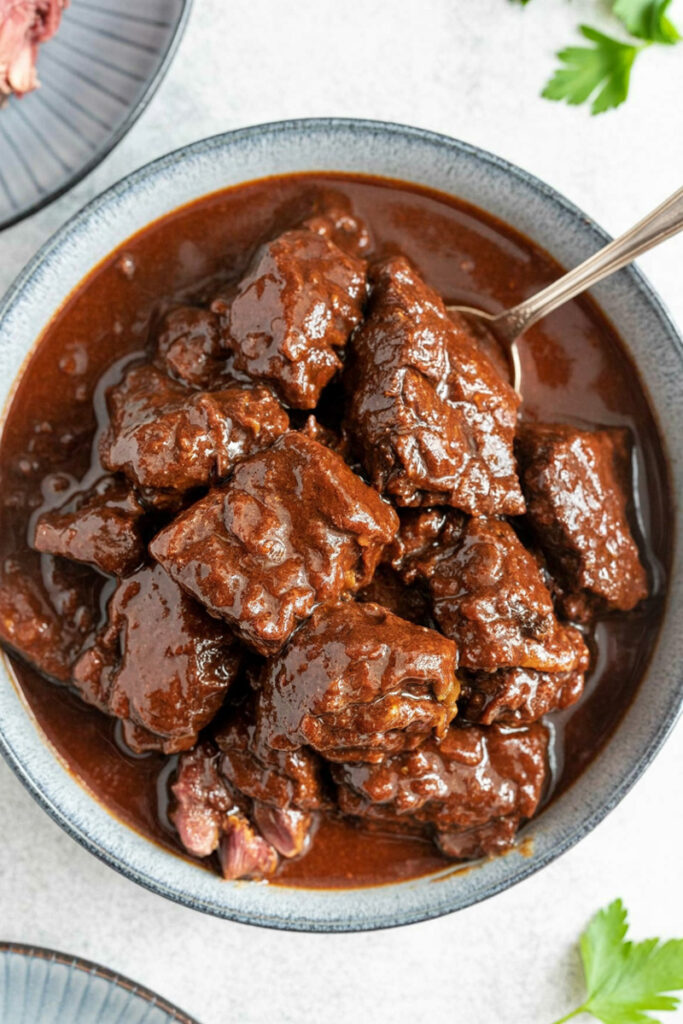
Now, if your only experience with chili involves ground beef and kidney beans, get ready. This is a whole different world. We’re talking about a rich, soulful stew. Imagine chunks of beef so tender they fall apart, all swimming in a deep red sauce that you made from scratch. It’s the kind of food that warms you up from the inside out.
So, what’s the secret? The name gives it away. “Colorado” is Spanish for “colored red.”1 That beautiful red color doesn’t come from tomatoes or chili powder. It comes from real, dried chile peppers that we bring back to life. That’s the heart and soul of this dish.
This is a classic recipe with roots in Northern Mexico and the American Southwest. It was originally a clever way to take tough, cheap cuts of meat and turn them into something incredible.
The recipe I’m sharing today is my personal favorite. I’ve tweaked it over the years after making it more times than I can count. We stick to tradition by using whole dried chiles, but I’ve got a few little tricks up my sleeve. A little fire-roasted tomato for some smoky sweetness, and a tiny whisper of cocoa and cinnamon to give it a deep, complex flavor. It’s not hard to make, I promise. It’s the perfect project for a lazy weekend afternoon.
Alright, let’s get our aprons on and make something amazing.
Recipe Overview
Before we start, let’s get a quick look at the road ahead. This isn’t a 30-minute meal. But trust me, every minute you put in will come back to you in flavor.
- Prep Time: 35 minutes
- Cook Time: 1 hour
- Total Time: 1 hour 35 minutes
- Difficulty: Intermediate. Don’t let that word scare you. It just means there are a few steps, like toasting chiles and browning meat. If you can follow a few instructions, you can absolutely do this.
Servings and Scaling Tips
This recipe makes enough for about 6 hungry people. One of the best things about Chile Colorado is how easy it is to make more for a party or to stock your freezer.
Thinking about changing the batch size? Here’s a quick guide:
| Servings | Beef (Chuck Roast) | Guajillo Chiles | Ancho Chiles | Beef Broth |
| 3 (Half Batch) | 1.5 lbs | 4 | 2 | 1.5 cups |
| 6 (Standard) | 3 lbs | 8 | 4 | 3 cups |
| 12 (Double Batch) | 6 lbs | 16 | 8 | 6 cups |
Equipment You’ll Need
You don’t need a fancy kitchen for this. Just a couple of key items.
- A Large Dutch Oven or Heavy-Bottomed Pot: This is the MVP. It holds heat really well, which means your stew will simmer evenly without burning on the bottom. If you don’t have one, any big, sturdy pot will do the job. You’ll just need to stir it a little more often.
- A Blender: A powerful blender makes the sauce super smooth. But you know what? Don’t worry if you don’t have one. A regular blender works fine; you’ll just want to pour the sauce through a small strainer afterward to catch any little bits of chile skin. Easy peasy.
- Kitchen Shears: I find these are way easier and cleaner for snipping open the dried chiles than using a knife.
Make-Ahead & Meal Prep Options
This dish is a meal prepper’s best friend. I swear, the flavors get even better after a day or two in the fridge.
The good news? You have options:
- Make the whole thing: Cook the entire dish 1-2 days before you want to serve it. Let it cool, pop it in the fridge, and just reheat it when you’re ready.
- Prep the parts: You can make the chile sauce and chop up the beef a day or two ahead. Keep them in separate containers in the fridge. Then, when it’s time to cook, you’re already halfway there!
The Ingredients: Your Building Blocks of Flavor
Good food starts with good ingredients. Let’s break down what we’re using and why it matters.
The Chile Trio
The soul of our sauce comes from three different dried chiles. Think of them as a team.
- 8 dried guajillo chile peppers: These are the star players. They give the sauce its bright red color and a tangy, berry-like flavor with just a little bit of heat.
- 4 dried ancho chile peppers: These are basically dried poblano peppers.2 They bring a smoky, sweet, almost raisin-like flavor that adds a wonderful deepness to the sauce.
- 1-3 arbol chile peppers: These little guys are your heat source. They’re fiery! Use one for a gentle warmth, two for a solid kick, and three if you like to live dangerously. You can also just leave them out and add a pinch of cayenne pepper at the end if you want more control.
The Star of the Show: The Beef
We’re using 3 pounds of chuck roast. I love this cut for stews. It has a lot of fat and connective tissue woven through it. Sounds weird, I know, but during the long simmer, all that stuff melts down and makes the beef unbelievably tender while enriching the sauce. When you’re at the store, look for a piece with plenty of white marbling.
- What if I can’t find chuck? Boneless beef short ribs would be a fantastic, richer substitute. Brisket works too, but you might need to cook it a little longer.
The Aromatics and Flavor Boosters
This is the stuff that makes your kitchen smell like heaven.
- The base: We start with the classic combo of yellow onion and garlic.
- The spices: A simple mix of ground cumin, dried oregano (Mexican oregano is great if you have it!), ground coriander, and smoked paprika adds a warm, earthy flavor that goes perfectly with the chiles.3
- The “Secret” Ingredients: Okay, this is my favorite part. We add a little bit of unsweetened cocoa powder, a touch of sugar, and a pinch of cinnamon. No, it won’t taste like a chocolate cake! This combo adds an amazing, subtle depth that will make people wonder what your secret is. It’s a trick I learned from classic mole sauces, and it perfectly balances any bitterness from the chiles.
- The Liquids: Fire-roasted diced tomatoes add a smoky body, and reduced-sodium beef broth gives us our simmering liquid. Using low-sodium broth is a pro move—it lets you control the salt level.
The Step-by-Step Method: Let’s Get Cooking!
Alright, let’s do this. Put on some music, relax, and enjoy the process. The smells alone are worth it.
1. Awaken the Chiles
First things first, we have to wake up the chiles.
Snip the stems off and slice them open. Scrape out the seeds and veins (you can keep a few seeds if you want it spicier).
Now, heat your dry Dutch oven over medium-high heat. Toss the chiles in and toast them for just 30-60 seconds, flipping them around. You’ll know they’re ready when they smell nutty and amazing. Seriously, do not walk away during this step! They can go from perfectly toasted to bitter and burnt in a heartbeat.
Once they’re fragrant, pour enough water into the pot to cover them. It’ll sizzle and steam, which is what you want. Let them simmer for 5 minutes, then kill the heat and let them soak while you deal with the beef. This makes them soft and blendable.
2. Prepare and Sear the Beef
While the chiles soak, let’s prep the beef.
Cut the chuck roast into 1-inch cubes. Pat them completely dry with paper towels. This is the most important secret to getting a great sear. In a big bowl, mix together the flour, salt, and pepper. Add the beef and toss it until every piece has a light coating. This flour helps create a beautiful crust and will thicken our stew later.
Heat some vegetable oil in your now-empty pot over medium-high heat. When the oil shimmers, carefully add half of the beef in a single layer. Here’s another tip: don’t overcrowd the pan. If you dump it all in at once, the beef will steam instead of brown. Let it sit without moving it for 2-3 minutes, until a deep brown crust forms. Flip the pieces, brown the other sides, and then move them to a plate. Do the same with the second batch of beef.
See all those brown bits stuck to the bottom of the pot? That’s pure flavor gold. Leave it right there.
3. Build the Sauce and Bring It All Together
Time to make that gorgeous red sauce.
Scoop the softened chiles into your blender. Add 1 cup of the water they were soaking in, plus the can of fire-roasted tomatoes. Blend until it’s completely smooth. If you have a regular blender, just pour the sauce through a fine-mesh strainer to make sure it’s silky.
Back to the pot. If it looks dry, add a little more oil. Toss in the chopped onion and cook for about 5 minutes, scraping up all those yummy browned beef bits from the bottom. Add the garlic and cumin and cook for just 30 seconds more until it smells fantastic.
Now for the magic. Add the seared beef (and any juices from the plate) back into the pot. Pour in your beautiful chile sauce, the beef broth, and all the rest of the spices and seasonings: oregano, coriander, paprika, cocoa powder, sugar, cinnamon, and the bay leaves. Give everything a big stir.
4. The Slow Simmer to Tenderness
Okay, the hard work is over. Now we let time do its thing.
Cover the pot, bring it to a boil, and then immediately turn the heat down to a low simmer. Let it gently bubble away for 45 minutes. Give it a stir every 15 minutes or so. This part is all about getting that beef tender.
After 45 minutes, take the lid off. Now it’s time to thicken the sauce. Turn the heat up to medium and let it simmer uncovered for another 15 minutes. The sauce will reduce and get wonderfully thick. You’ll know the beef is done when you can easily shred a piece with a fork. Fish out the bay leaves, taste it, and add more salt if you think it needs it.
Variations & How to Make It Your Own
Think of this recipe as a starting point. Here are a few ideas:
- Adjust the Spice: The easiest way to control the heat is with those arbol chiles. Want it hotter? Add back some of the chile seeds you scraped out. Milder? Leave the arbols out completely.
- Gluten-Free: Simple! Just coat the beef in a gluten-free flour blend or even cornstarch instead of regular flour.
- Feeling Fancy? Use boneless beef short ribs instead of chuck roast. For an even deeper flavor, after you cook the onions, add a splash of dark Mexican beer or a half-cup of strong black coffee and let it cook down before adding everything else.
Serving & Storage
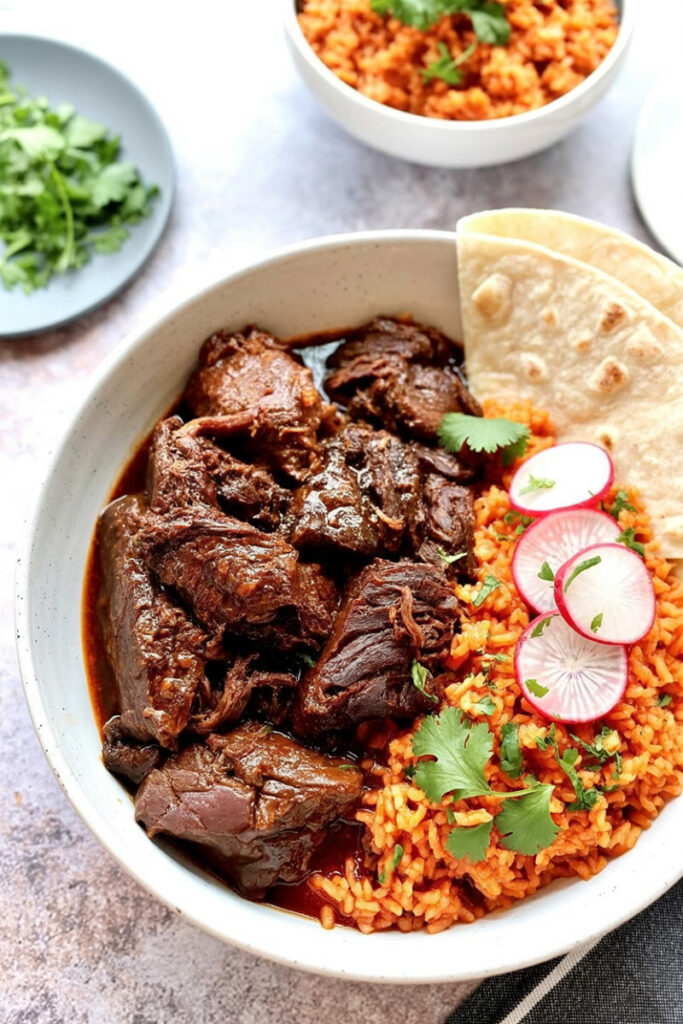
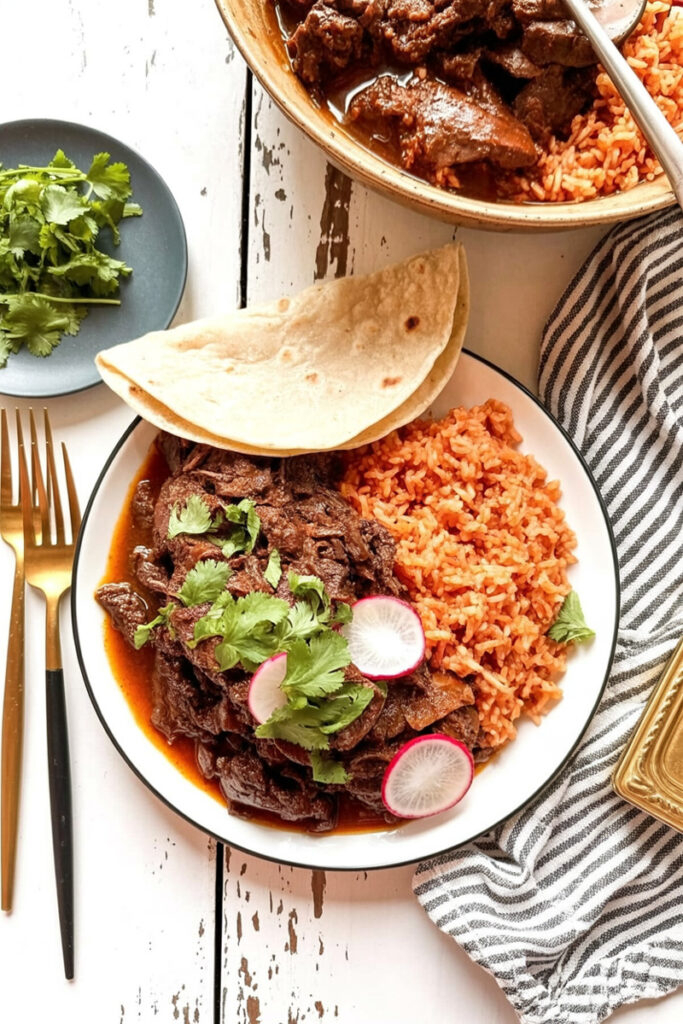
Finally, the best part—eating it! Ladle the Chile Colorado into bowls. It’s so good served over rice, with warm corn tortillas for dipping, or with a side of pinto beans.
Plating and Toppings
I love setting up a little toppings bar so everyone can build their own perfect bowl. Some great options are:
- Crumbled Cotija or queso fresco
- A spoonful of sour cream or Mexican crema
- Chopped fresh cilantro
- Thinly sliced radishes for a fresh crunch
- Diced avocado
- A squeeze of fresh lime juice right at the end
Storage and Reheating
Store any leftovers in an airtight container in the fridge for up to 4 days. Like I said, the flavor just gets better and better! Reheat it gently on the stove. If the sauce got too thick, just add a little splash of water or beef broth to loosen it up.
This chili also freezes perfectly for up to 3 months.4 Just cool it completely, portion it out, and you’ve got an amazing meal waiting for you.
Enjoy every last bite!