

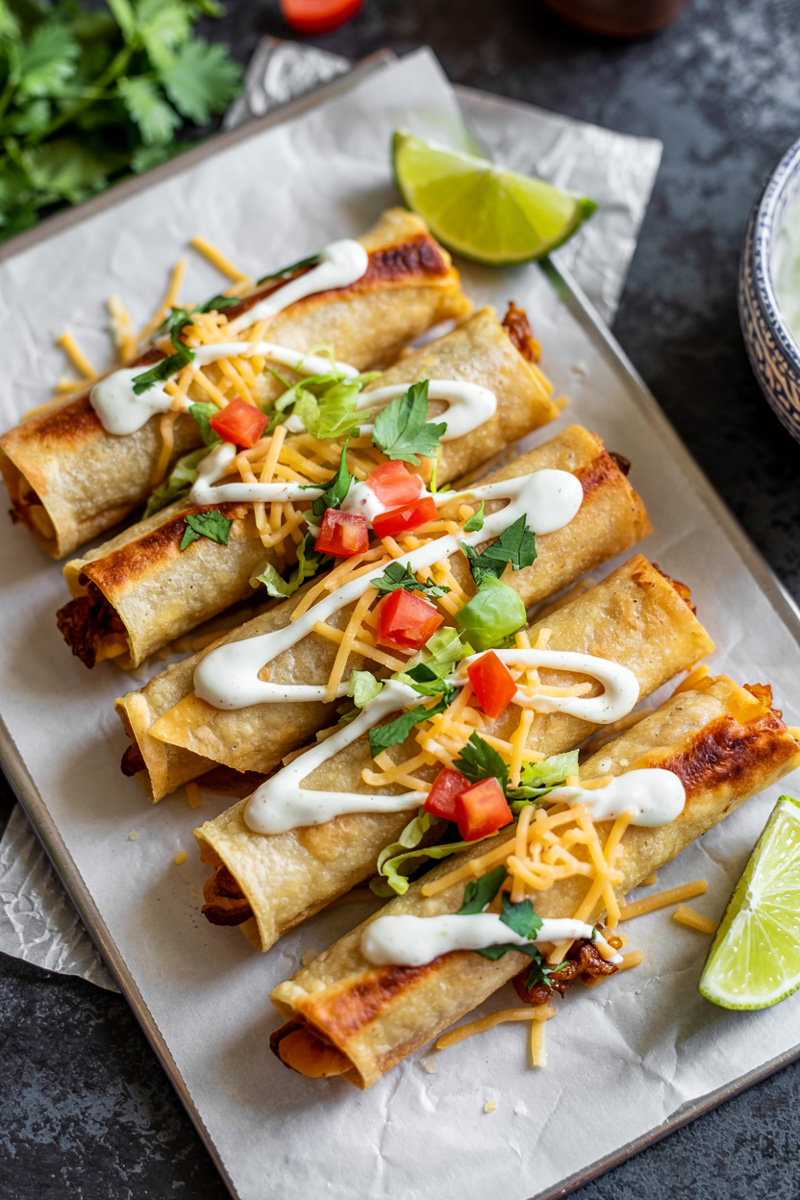
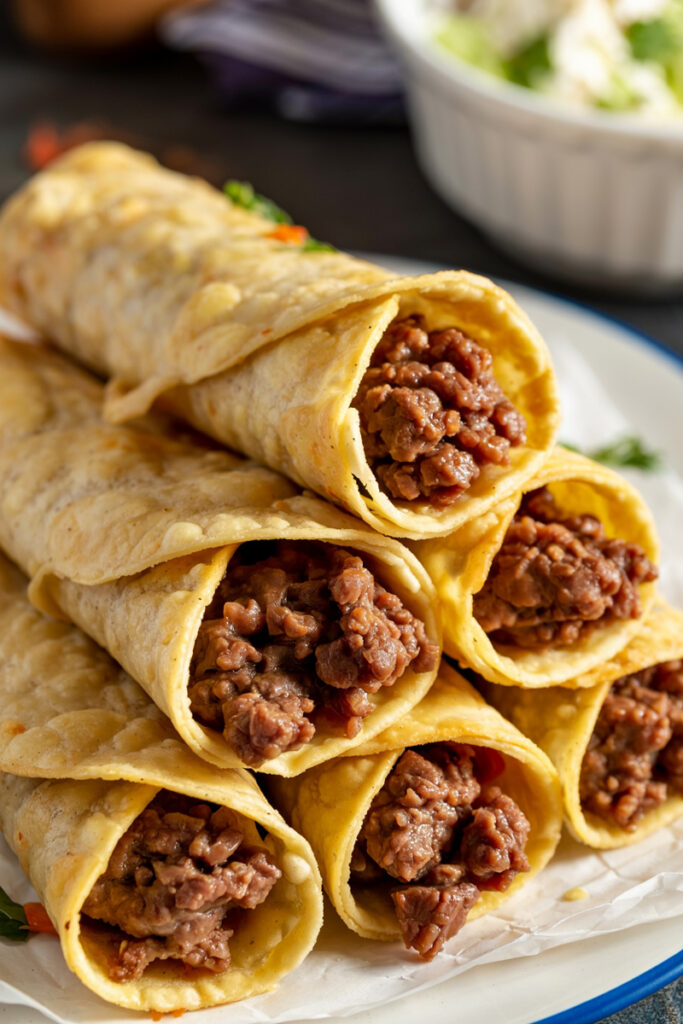
Hey friends! Let me tell you about a recipe that is, without a doubt, a top-three favorite in my house: Shredded Beef Taquitos.
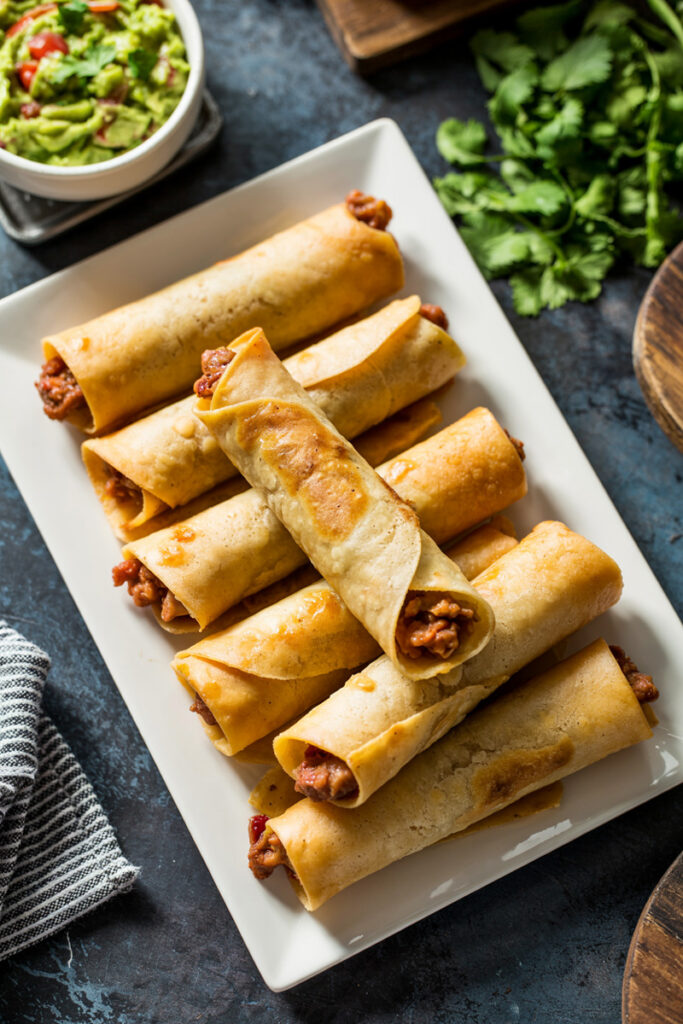
There’s just something special about a perfectly crispy, flavor-packed taquito. The name literally means “little taco,” which is just perfect, isn’t it? It started as a popular street food in Mexico, and it’s all about packing a ton of flavor into a small, crunchy, rolled-up package. I remember the first time I made these for a get-together, I put a huge platter out and turned around for a second. When I looked back? They were gone. Vanished. That’s when I knew this recipe was a keeper.
So, what makes this taquito recipe the one you’ll want to make again and again?
First, the filling. We’re using a super savory shredded beef that’s juicy and rich. Second, we’re baking them! This gives you that amazing crunch you’re looking for but without all the mess and oil from deep-frying. It’s way easier and a little lighter, too. Finally, this recipe is just so versatile. It works for a quick weeknight meal, a fun party snack, or even as a make-ahead lunch.
This isn’t just a recipe; it’s your new secret weapon for deliciousness.
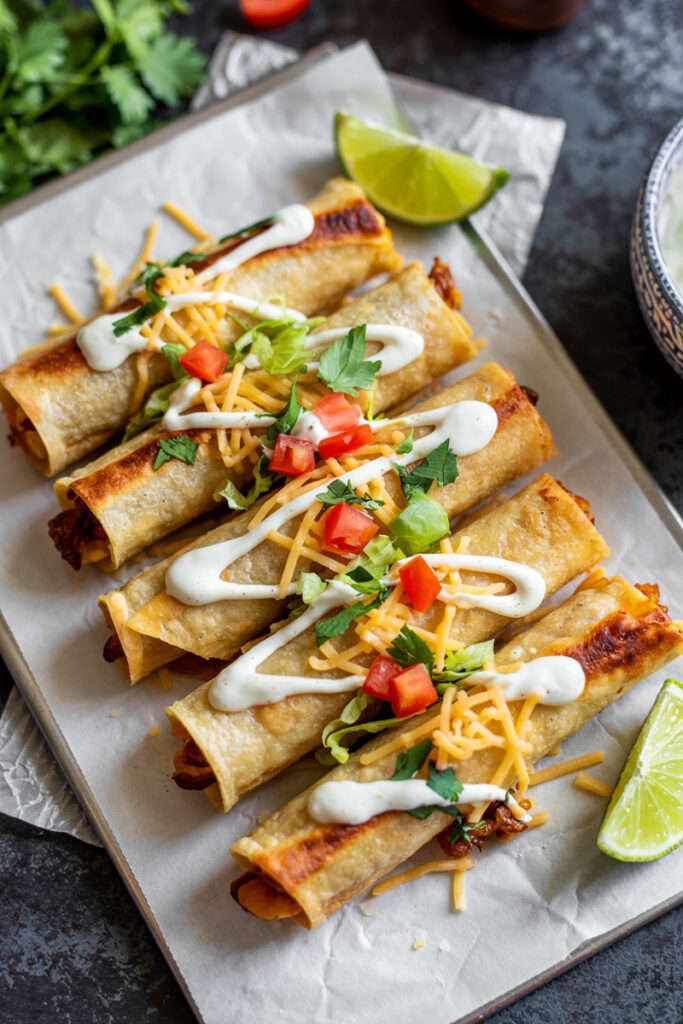
What to Expect
Before we dive in, let’s get a quick overview. The steps are simple, but a few little tricks I’ve learned along the way will make your taquitos truly amazing.
Time Commitment: You’ll need about an hour from start to finish. That’s about 20 minutes to get the filling ready and roll them up, and 40 minutes of cooking time.
How Many Does This Make?: This recipe makes 20 taquitos. That’s enough for 4-6 people if it’s the main dish, or for a whole party if you’re serving them as an appetizer. The best part? It’s so easy to make more or less. Need to feed an army? Just double everything!
| Servings | Tortillas | Shredded Beef | Canned Green Chiles | Shredded Cheese |
| 10 Taquitos | 10 | 1 cup (½ lb) | 2 oz | 1 cup |
| 20 Taquitos | 20 | 2 cups (1 lb) | 4 oz | 2 cups |
| 40 Taquitos | 40 | 4 cups (2 lbs) | 8 oz | 4 cups |
Is It Hard?: Not at all! I’d call this one easy. The steps are straightforward. The only thing that takes a little practice is rolling the tortillas without them cracking, but don’t worry—I have a trick for that! It’s a great recipe if you’re looking to try something new in the kitchen.
Equipment You’ll Need: An extra-large sheet pan is your best friend here. It lets you cook more at once. But if you don’t have one, two regular baking sheets work perfectly fine. I also love using a cookie scoop to portion out the filling, but a good old spoon gets the job done, too.
Make-Ahead Tip: Want a shortcut for a busy weeknight? You’re in luck. The shredded beef filling can be made up to 3 days ahead of time. Just keep it in an airtight container in the fridge. Then, when you’re ready to eat, rolling them up takes just 15 minutes.
What You’ll Need
Great food always starts with great ingredients. We’re keeping it simple here with things that are easy to find but deliver a big flavor payoff.
For our amazing Shredded Beef Filling, you’ll need a tablespoon of olive oil and about half a cup of finely minced onion. This is our flavor base. The main event is two cups of Mexican Shredded Beef. You can totally use a pre-cooked kind from the store to save time, or if you’re feeling ambitious, make your own! We’ll also add a 4-ounce can of green chiles—and don’t drain them! That liquid is full of flavor. I like the fire-roasted ones for a nice, smoky taste. To make it all cheesy and delicious, we’ll stir in two cups of finely shredded Monterey Jack cheese. It melts beautifully. A little salt makes everything else taste even better.
Now for the taquitos themselves. The tortilla is key! I highly recommend using 20 corn tortillas, specifically a super-soft kind. I find brands like Mission are more flexible and don’t crack as easily. You’ll also need some oil cooking spray or a little neutral oil, like canola. This is our secret for getting them nice and crispy in the oven.
Don’t Have Something? No Worries.
- No Beef? No problem at all! This recipe is fantastic with shredded chicken. A rotisserie chicken from the store is a great shortcut here. Pulled pork is also delicious. Or, for a veggie option, try a mix of black beans and potatoes.
- Different Cheese: Go for it! A Mexican blend, sharp cheddar, or even Pepper Jack for a little kick would all be great swaps for the Monterey Jack.
- Tortillas: If you’re more of a flour tortilla person, they work well too. You can skip the step where we bake them to soften them up. Just warm them in the microwave for a few seconds to make them easier to roll.
Okay, Let’s Make Some Taquitos!
Ready? Let’s get cooking. I’ll walk you through everything, step-by-step.
Part 1: Make That Amazing Filling
First, we need a filling that’s packed with flavor but not watery. This is our secret weapon against soggy taquitos!
Heat the olive oil in a large skillet over medium heat. When it shimmers a little, add the minced onions. Cook them for about 2 minutes until they’re soft and smell amazing.
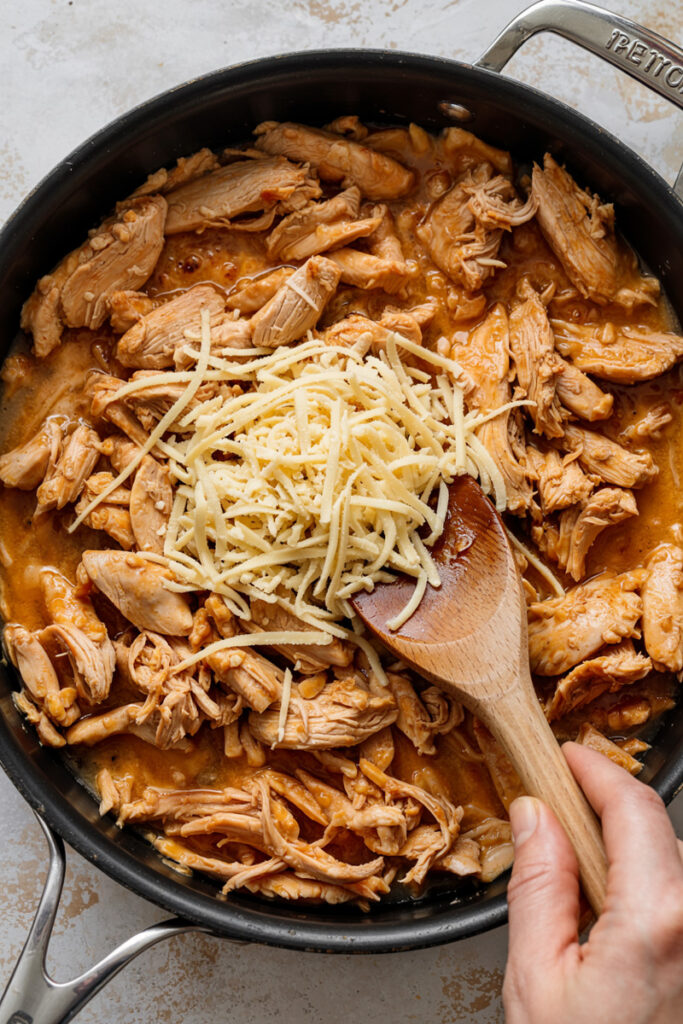
Now, add the shredded beef, the entire can of green chiles (liquid and all!), and a pinch of salt. Let this cook for about 7-10 minutes. You want most of that liquid to cook off. The mixture will get thicker and the sizzling sound will quiet down. Don’t rush this step! It really deepens the flavor.
Take the pan off the heat and let it cool for just a few minutes. If you add the cheese when it’s super hot, it’ll just turn into a greasy mess. Once it’s cooled down a bit, stir in all that yummy shredded cheese.
Part 2: The Art of the Roll
Preheat your oven to 400°F. Line a big baking sheet with foil (trust me, you’ll be glad you did when it’s cleanup time!) and spray it well with cooking oil.
Now, here’s the tip that will change your taquito-making life. Lay 12 corn tortillas out in a single layer on your pan. Spray the tops with cooking spray and bake them for just 4 minutes. This makes them soft and easy to roll. No more cracking!
As soon as they come out of the oven, stack them up. This traps the steam and keeps them pliable. Flip the stack over so the oily side is facing down.
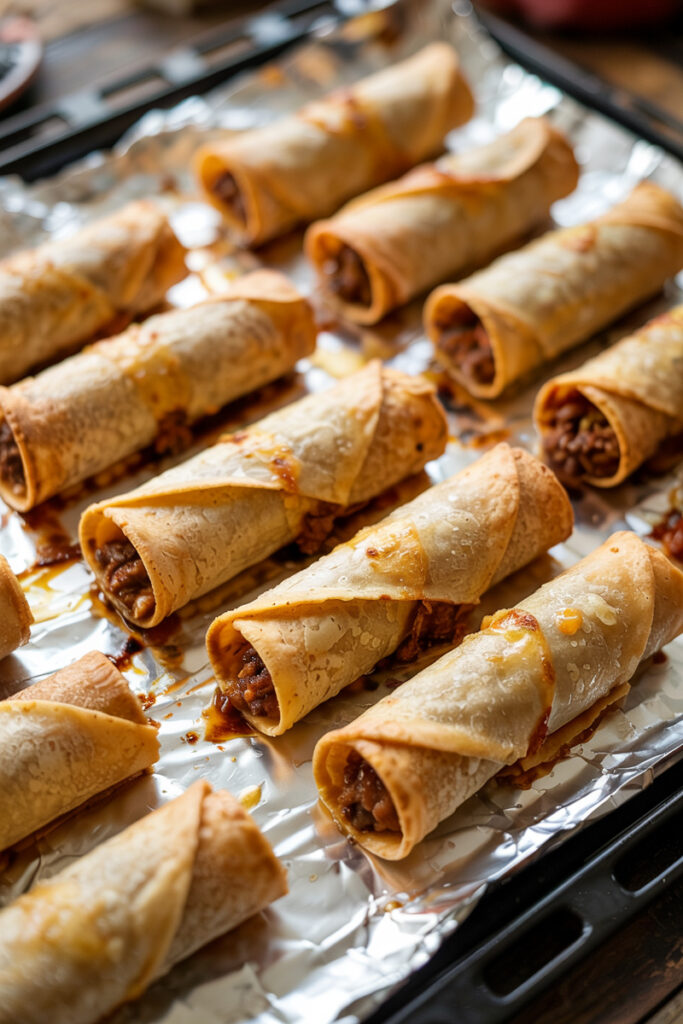
Time to fill. Spoon about two heaping tablespoons of the beef mixture in a line on a tortilla. Then, roll it up! Think of it like rolling up a little sleeping bag—you want it nice and tight. Place it seam-side down on the baking sheet. Fill it. Roll it tight. Seam-side down. Easy. Repeat until you run out of warm tortillas.
Part 3: Bake to Crispy Perfection
Give the tops of your rolled taquitos one more little spray of cooking oil.
Slide that pan into the oven and bake for 15 minutes.
After 15 minutes, pull them out. They should be starting to get firm. Using tongs, carefully flip each one over. Don’t skip this part! This is how we get them crispy all over. Pop them back in the oven for another 10 minutes.
You’ll know they’re done when they are a beautiful golden brown and feel crisp when you tap them. While this batch is baking, you can get your remaining tortillas warmed up and rolled.
Make Them Your Own
Think of this recipe as a starting point. It’s so easy to switch things up!
- Need it gluten-free? Just make sure your corn tortillas are certified gluten-free.
- Want more heat? Add a finely chopped jalapeño with the onions, or maybe a dash of cayenne pepper to the beef.
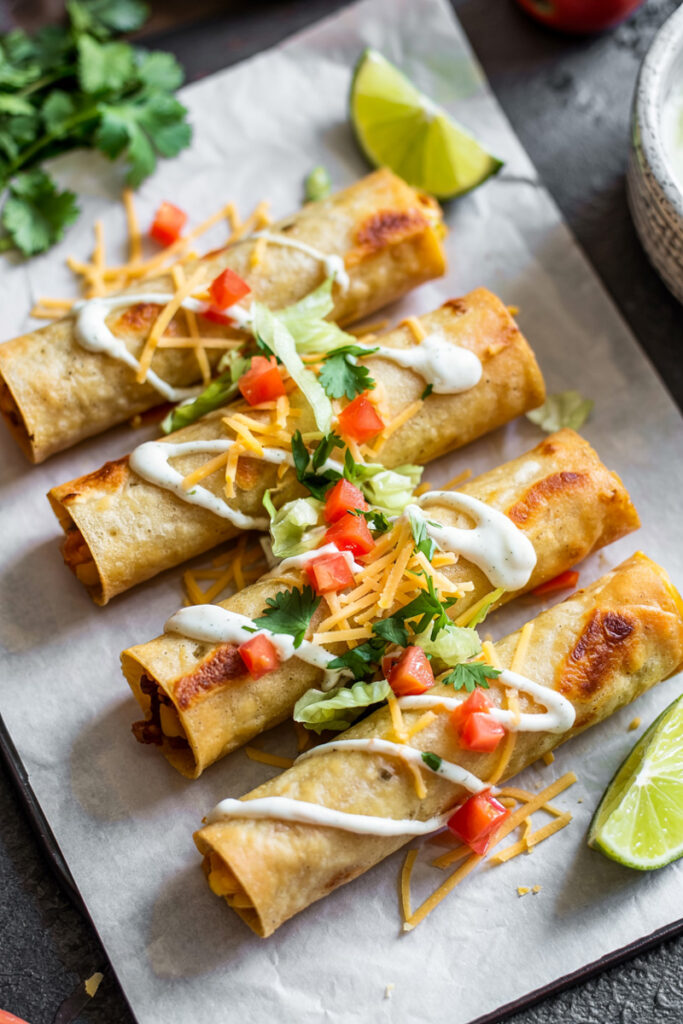
- For a special touch, you can top the finished taquitos with some crumbly cotija cheese and fresh cilantro. For a super-fast weeknight meal, using store-bought shredded beef is a lifesaver.
Time to Eat! (And How to Store Leftovers)
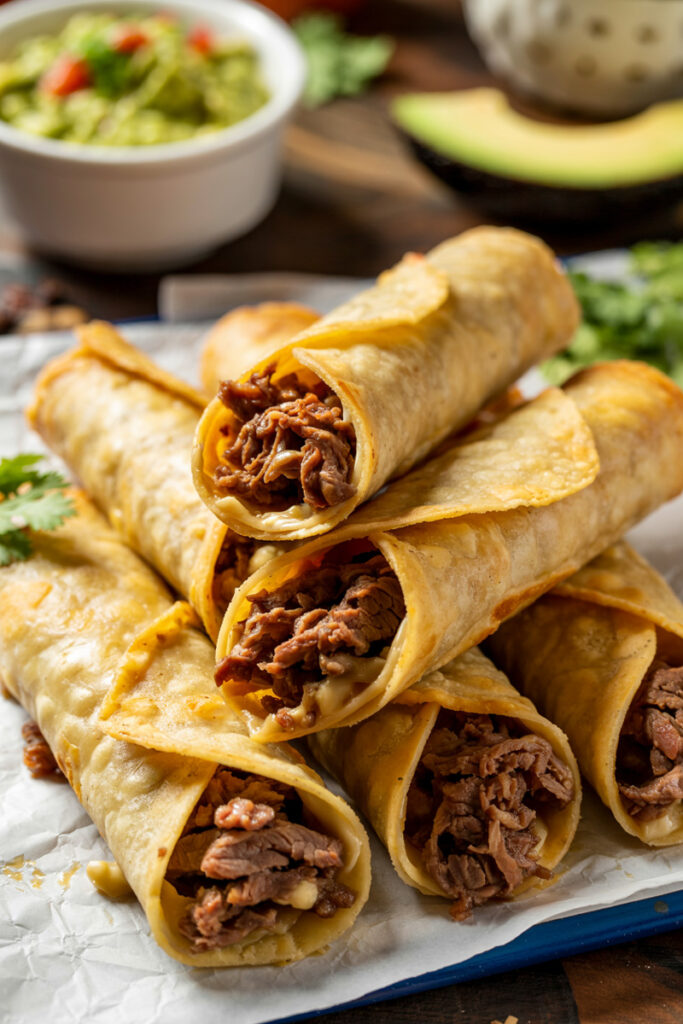
This is the best part. I love to pile these taquitos on a big platter and go crazy with toppings.
We set up a little “dipping bar” with bowls of:
- Guacamole
- Salsa
- Queso
- Sour cream
They’re also perfect with a side of cilantro-lime rice and some refried beans.
In the Fridge: Leftovers can be stored in an airtight container in the fridge for up to 4 days.1
Freezing: These freeze so well! Let the baked taquitos cool down completely. Place them on a baking sheet in a single layer and freeze them until they’re solid. Then, you can toss them all into a freezer-safe bag. They’re good for about 3 months.
Reheating: To get them crispy again, reheat them in the oven or an air fryer at 375°F for 10-15 minutes (a little longer if they’re frozen). I’d try to avoid the microwave unless you’re in a huge rush, because it will make them soft instead of crispy.
I really hope you enjoy making—and eating—these. Have fun!