")
Hey friends! Welcome to my kitchen.
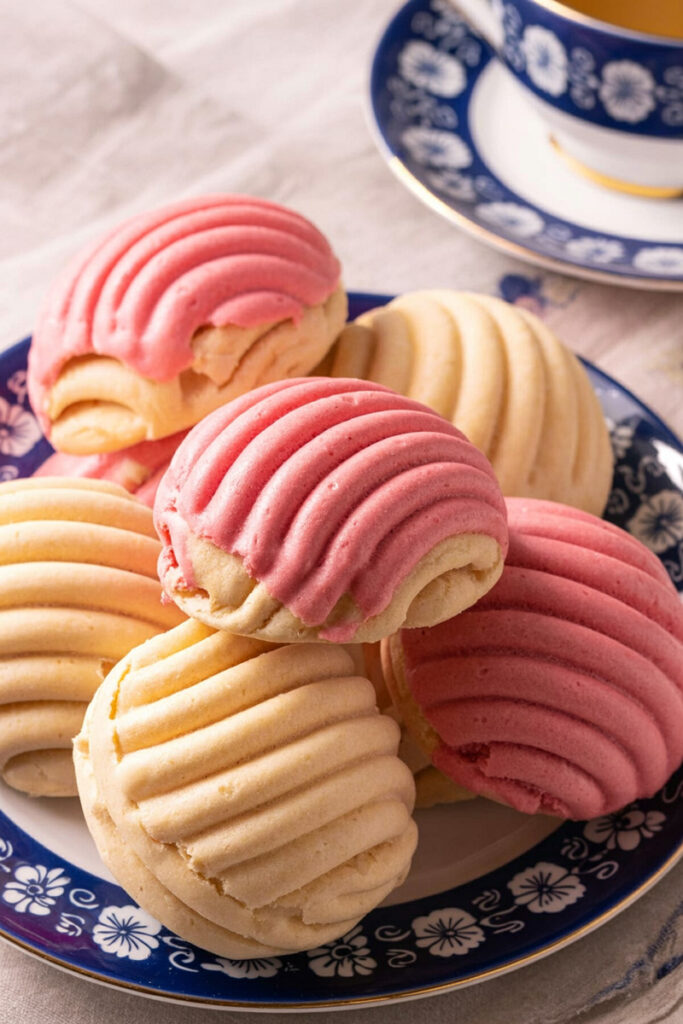
Today, we’re going to bake one of my absolute favorite things in the world: homemade Conchas.
If you’ve ever walked into a Mexican bakery, or panadería, you know exactly what I’m talking about. You’re hit with that amazing smell of fresh bread, and you see shelves filled with colorful, shell-patterned sweet rolls. Those are conchas, and they are basically the rockstars of Mexican pan dulce (sweet bread).
I remember my first time trying one. It was this soft, fluffy bun with a crunchy, sweet cookie topping. It was more than just bread. It felt like a warm hug. It’s the kind of thing you have with your morning coffee or as a little afternoon pick-me-up. The name “Concha” actually means “shell” in Spanish, which makes sense when you see that iconic pattern on top.1
This recipe is really special to me. It took some trial and error, but I finally landed on the perfect mix: a rich, soft dough and a sweet, crumbly topping that’s just right. And the good news? It’s not as hard as it looks.
So, let’s roll up our sleeves and get baking. It’s going to be fun!
A Quick Look at What We’re Doing
Before we jump in, let me give you a quick rundown. Don’t let the yeast scare you. I’ll walk you through everything, step-by-step.
This recipe is all about patience. You’ll need about 10 minutes to get things started and 18-20 minutes to bake. The most important part is the rising time, which takes about 2 hours and 30 minutes total. But here’s the thing… most of that is hands-off time. Perfect for tidying up the kitchen or catching up on your favorite show.
This recipe makes 12 conchas. But you can easily adjust it.
| Servings | Dough Ingredients (Example) | Topping Ingredients (Example) |
| 6 Conchas | ½ package yeast, ⅜ cup milk, ¼ cup butter | ¼ cup butter, ½ cup powdered sugar, ½ cup flour |
| 12 Conchas | 1 package yeast, ¾ cup milk, ½ cup butter | ½ cup butter, 1 cup powdered sugar, 1 cup flour |
| 24 Conchas | 2 packages yeast, 1 ½ cups milk, 1 cup butter | 1 cup butter, 2 cups powdered sugar, 2 cup flour |
Is this recipe hard? I’d say it’s perfect for an adventurous beginner. If you’ve never worked with yeast before, this is a great way to learn. The steps are simple, and the payoff is huge.
What you’ll need:
- Stand Mixer: This makes kneading the dough a breeze. My stand mixer is my best friend for this recipe! No mixer? No problem. You can knead by hand for about 10-15 minutes. It’s a great workout.
- Baking Sheets: Line them with parchment paper so nothing sticks.
- Large Bowls: For mixing the dough and letting it rise.
- Kitchen Scale: I highly recommend this. It helps you get perfectly even conchas every single time.
- A Sharp Knife or Concha Cutter: This is for making that classic shell pattern.
Can I make this ahead of time? Yes! You can make the dough, let it rise once, and then stick it in the fridge overnight. This actually makes the flavor even better. Just let it sit on the counter for about 30-45 minutes the next day before you shape it.
The Ingredients: What You Need for Deliciousness
The best part about this recipe is that it uses simple, everyday ingredients.
For the Soft, Fluffy Dough
We’re aiming for the softest sweet bread ever. Here’s what makes it happen:
- Active Dry Yeast: You’ll need one package. Make sure it’s fresh! This is what gives our bread its lift.
- Milk: We’ll use ¾ cup, warmed up to about 110°F. Think of it like a cozy hot tub for the yeast. It helps wake it up.
- Sugar: We need ½ cup total. We’ll use a little bit to feed the yeast and the rest to sweeten the dough.
- Butter: ½ cup of melted butter makes the dough super rich and tender.
- Eggs: 3 eggs, at room temperature. Why room temp? Because they mix into the dough so much more easily. Cold eggs are like trying to stir a hard stick of butter—clumpy and difficult.
- Vanilla Extract & Salt: A teaspoon of each. The vanilla adds warmth, and the salt is a must. It helps control the yeast and makes all the other flavors pop.
- All-Purpose Flour: 4 ½ cups. This gives the conchas a wonderfully soft texture.
For the Sweet, Crumbly Topping
This is the “shell” part, and it’s basically a simple sugar cookie paste.
- Unsalted Butter: ½ cup, very soft but not melted. This is key to getting the right texture.
- Powdered Sugar: 1 cup.
- All-Purpose Flour: 1 cup.
- Vanilla Extract: 1 tablespoon for that classic, warm flavor.
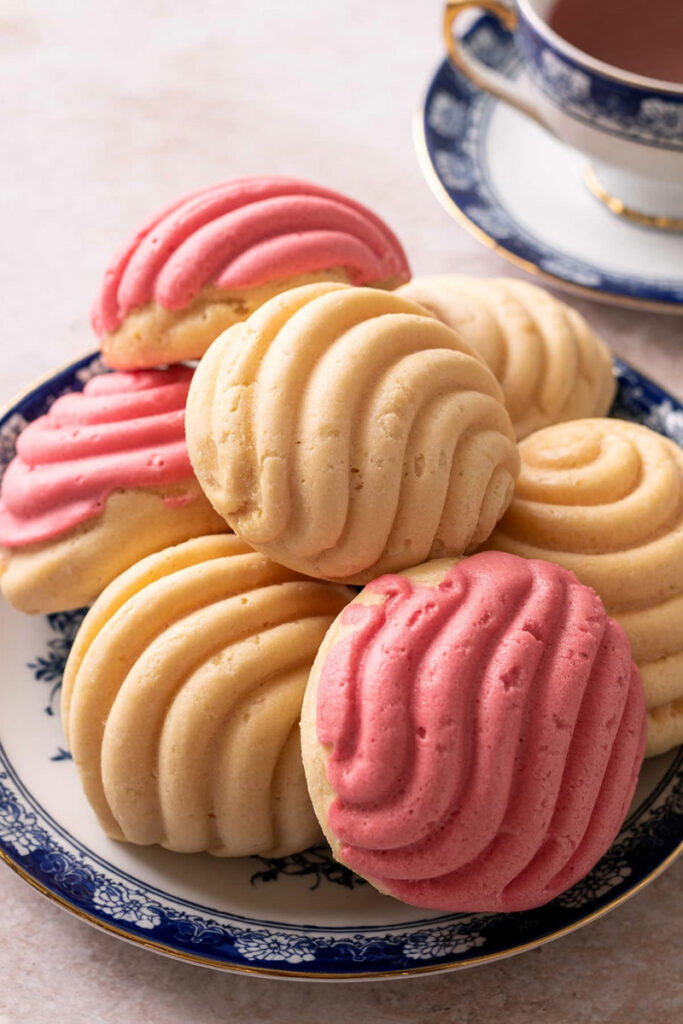
This is also where you can get creative! Grab some cocoa powder, cinnamon, or even a little food coloring. We can split the topping to make different flavors and colors, just like at a real panadería.
Step-by-Step: Let’s Do This!
Okay, time to get our hands a little doughy.
1. First, Let’s Wake Up the Yeast
Gently warm your milk. You want it to feel like warm bathwater (around 110°F). Pour it into your mixer bowl, sprinkle in the yeast and about half of the sugar, and give it a quick stir. Let it sit for about 5 minutes.
You’re looking for a creamy, bubbly, and foamy top. If you see that, give yourself a pat on the back! Your yeast is alive and ready to go. If not, your yeast might be old, and you’ll need to start over with a fresh packet.
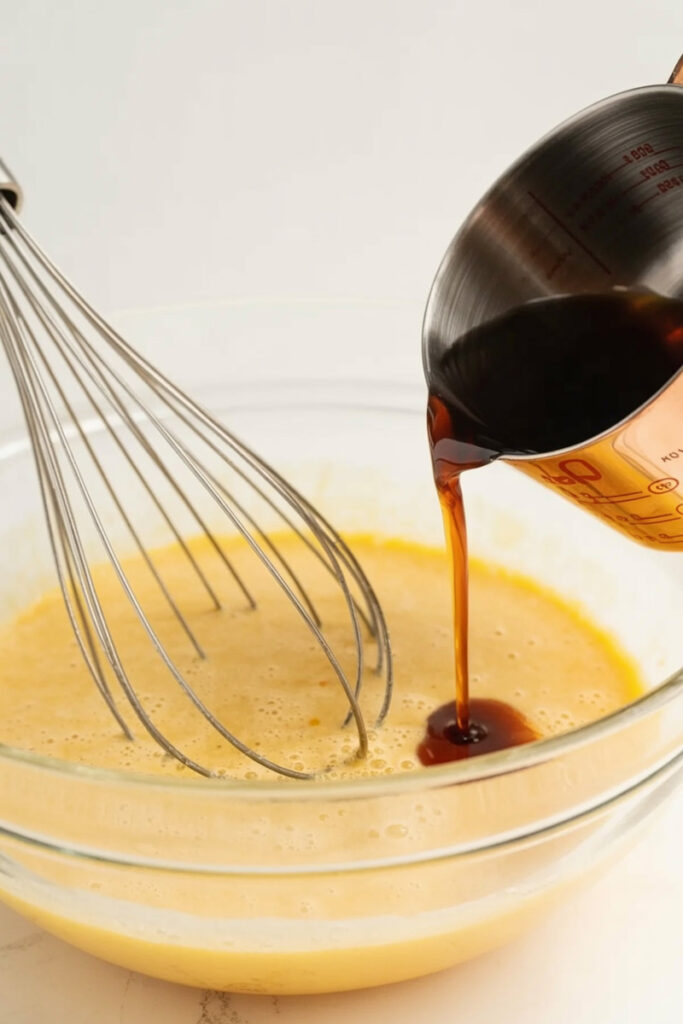
2. Time to Make the Dough
Once the yeast is bubbly, whisk in the eggs, vanilla, salt, and the rest of the sugar. Then, whisk in about half of the flour until you have a thick, smooth paste. This just helps everything mix together nicely.
Pour in your melted butter and mix it one more time. Now, switch to the dough hook. Add the rest of the flour and let the mixer run on medium speed for 5-7 minutes. You’ll watch it go from a shaggy mess to a smooth, stretchy dough. It should pull away from the sides of the bowl. It will feel soft and a little tacky, but it shouldn’t stick to your fingers.
3. The First Rise (Be Patient!)
Put the dough in a large, lightly oiled bowl and flip it over once to coat the top. Cover it with plastic wrap or a clean towel.
Now, find a warm, draft-free spot for it to rise. I usually stick my bowl in the oven (turned off, of course) with just the light on. It creates the perfect cozy environment. Let it rest for 1.5 to 2 hours, or until it has doubled in size.
4. Let’s Make the Topping!
While the dough is rising, mix the flour and powdered sugar for the topping in a bowl. Add the super-soft butter and vanilla. Use a spatula or your hands to mix it all together until it forms a smooth paste. It should feel like soft play-dough.
This is the fun part! If you want different flavors, divide the paste into a few bowls.
- For a chocolate topping, mix in 1 tablespoon of cocoa powder.
- For a cinnamon topping, add ½ teaspoon of cinnamon.
- You can also add a few drops of food coloring. Pink and yellow are classic!
5. Assembling Your Conchas
Once the dough has doubled, gently press it down to release the air. Divide it into 12 equal pieces. A kitchen scale is your secret weapon here for getting them all the same size (about 90 grams each).
To shape them, roll each piece of dough into a tight, smooth ball. Place six balls on each of your prepared baking sheets, leaving plenty of room between them to grow.
Next, divide your topping into 12 little balls (about 30 grams each). Here’s a trick I learned: place a topping ball between two pieces of plastic wrap and press it into a thin circle with the bottom of a glass. It makes a perfect disk, just big enough to cover your bun. Gently place one topping disk on each dough ball.
Finally, let’s make the shell pattern. Use a sharp knife to carefully score lines into the topping. Just be careful not to cut into the actual dough underneath.
6. The Final Rise and Baking Time!
Loosely cover your conchas and let them rise for another 30 minutes. They’ll get noticeably puffy. While they’re rising, preheat your oven to 350°F (175°C).
Bake for 18 to 20 minutes. Your kitchen is about to smell incredible. You’ll know they’re done when the bottoms are a nice golden brown. The topping won’t get very dark, so peeking at the bottom is the best way to check. Let them cool on the pan for a few minutes before moving them to a wire rack.
Ways to Mix It Up
One of the best things about this recipe is how easy it is to make it your own.
- Feeling festive? Add a little orange zest to the dough for a bright, citrusy flavor.
- Holiday vibes? A pinch of anise or cardamom in the dough adds a wonderful warmth.
- Need a dairy-free version? You can try vegan butter and plant-based milk. The texture will be a little different, but still delicious. The topping works great with vegan butter.
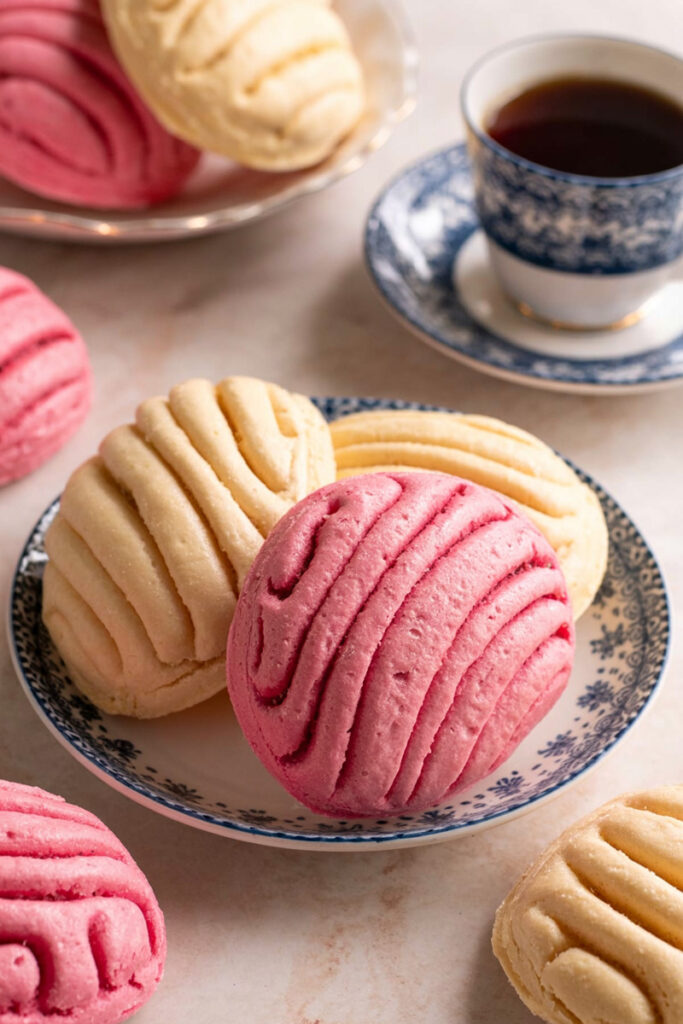
How to Serve and Store Your Conchas
Honestly, there is nothing better than a warm concha, fresh from the oven. The traditional way to enjoy them is with a mug of hot chocolate or a cup of coffee. Perfect for breakfast or an afternoon snack.
To store them, just put them in an airtight container. They’re best eaten within 2-3 days. The topping might get a little soft over time, which is totally normal.
Want to bring back that just-baked magic? A quick 5-minute warm-up in a 300°F oven does the trick. You can also freeze baked conchas for up to three months!
Happy baking! I really hope you love making these as much as I do.