
I’m about to share a recipe that gets requests. Seriously. My friends and family practically beg me to bring these Sopapilla Cheesecake Bars to every potluck, party, and get-together.
If you’ve never had one, get ready.
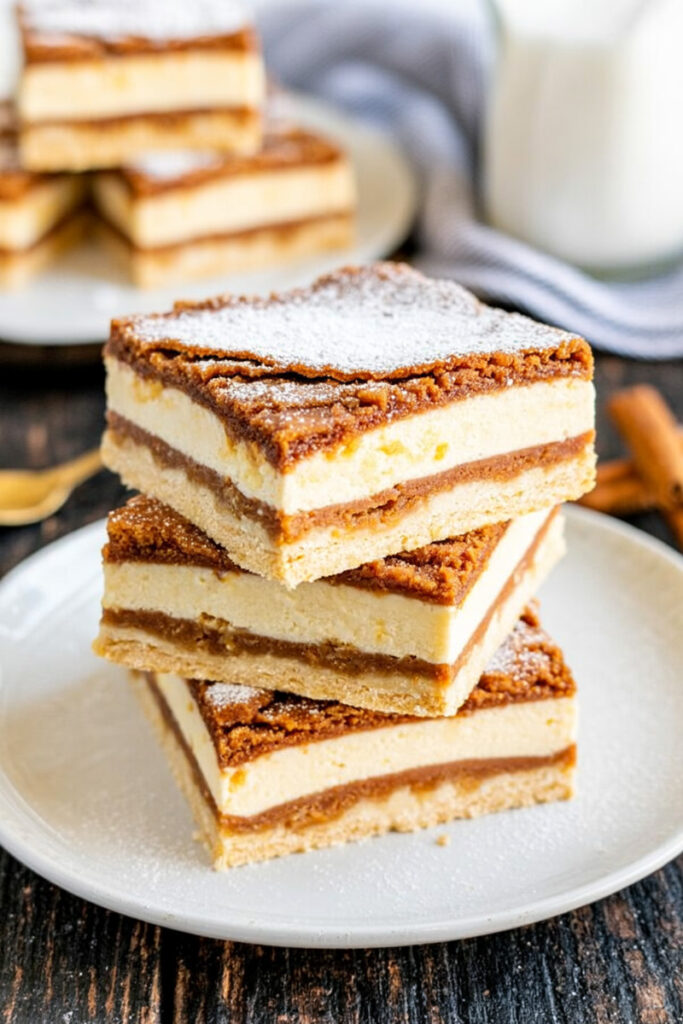
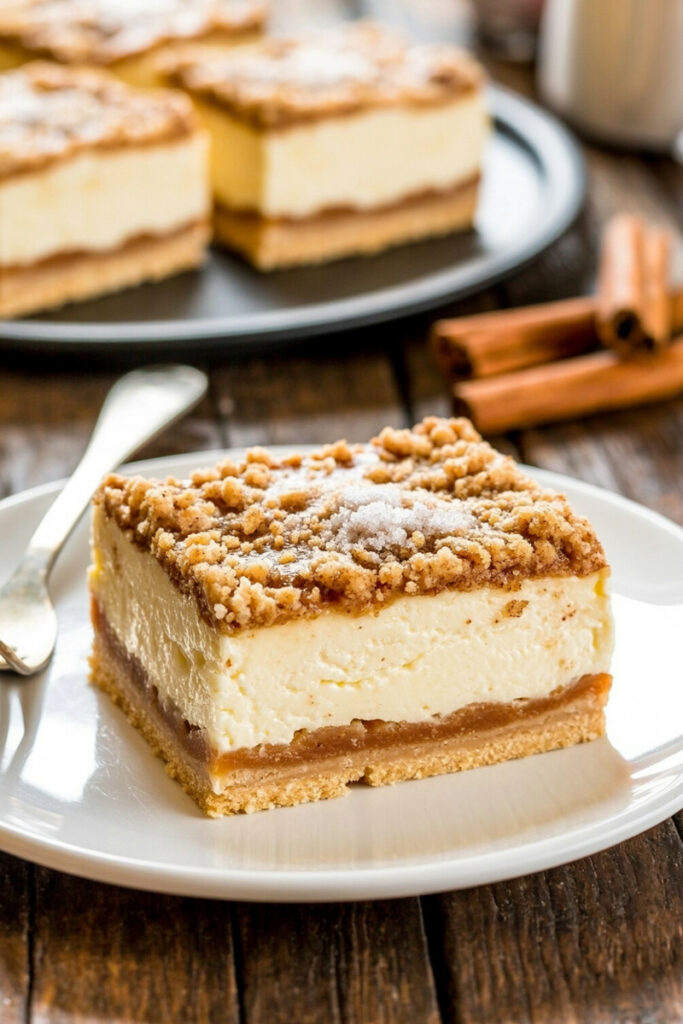
Imagine a warm, cinnamon-dusted sopapilla had a baby with a creamy, dreamy cheesecake. It’s that perfect mix of a flaky, buttery crust and a cool, tangy filling, all topped with a crunchy cinnamon-sugar crust. Yeah. It’s that good.
This isn’t some ancient, complicated recipe. It’s a clever American twist on a Southwestern favorite. You know sopapillas, right? Those wonderful, puffy pockets of fried dough you get at Mexican restaurants, usually drenched in honey. Well, this recipe takes all that cozy, cinnamon-sugar goodness and packs it into a super simple bar dessert.
The best part? No messing with hot oil or deep-frying.
Our secret weapon is refrigerated crescent roll dough. It’s the ultimate shortcut to a flaky, buttery crust that tastes like you worked on it for hours.
Over the years, I’ve tweaked this recipe to make it absolutely foolproof. My little trick? A single tablespoon of cornstarch in the cheesecake filling. It sounds weird, I know, but trust me on this. It helps the filling set up beautifully, giving you those clean, perfect slices every single time, while keeping it unbelievably creamy.
Let’s get baking.

Let’s Talk Details
Before we roll up our sleeves, here’s a quick rundown of what to expect.
- How long will this take? You’ll need about 15 minutes to put it all together and 35-40 minutes for baking. The real key is the chilling time—you must let it chill for at least 3 hours. Seriously, don’t skip this step!
- How many does it make? This recipe fills a 9×13 inch pan and makes about 15 pretty generous bars. It’s perfect for a crowd.
- Is it hard to make? Not at all! I’d call this one super beginner-friendly. That crescent roll shortcut is a lifesaver, and the filling is a breeze to whip up.
- What gear do I need? Nothing fancy, I promise. Just a 9×13 inch baking pan (glass is great), an electric mixer (handheld or stand mixer), and a few bowls.
- Can I make it ahead? Absolutely! In fact, you have to. It needs that chill time, which makes it the perfect dessert to make the day before a party. No last-minute stress.
Need to Scale the Recipe?
Making a smaller batch for just a few people? Or maybe a double batch for a huge event? No problem. This recipe is super easy to adjust.
Here’s a handy chart to guide you.
| Pan Size | Servings | Crescent Rolls | Cream Cheese | Sugar (Filling) | Egg | Baking Time (approx.) |
| 9×13 inch (Full) | 15 Bars | 2 (8 oz) cans | 24 oz | 1 cup | 1 large | 35-40 mins |
| 8×8 or 9×9 inch (Half) | 8-9 Bars | 1 (8 oz) can* | 12 oz | ½ cup | 1 small | 30-35 mins |
*Quick note for a half batch: You’ll use one can of crescent rolls. Just split the dough in half—one part for the bottom crust, one part for the top.
The Ingredients: What You’ll Need
Let’s gather our supplies. The ingredients are simple, and the recipe is very forgiving.
For our magically easy crust, we need two 8-ounce cans of refrigerated crescent rolls. Any brand will do the trick. A little tip? If you can find the “crescent dough sheets” that don’t have the triangle perforations, grab them! It just saves you the tiny step of pinching the seams together.
Now for the heart of the dish, the cheesecake filling. You’ll need 24 ounces of full-fat, block-style cream cheese. I have to insist on this one. Please do not use the whipped kind from a tub! It’s too soft and just won’t give you that rich, dense cheesecake texture we’re after.
And here’s maybe the most important tip I can give you: Let the cream cheese soften completely to room temperature. I’m serious. Cold cream cheese leads to lumpy filling, and nobody wants that. You’ll also need one large egg, also at room temperature, and 1 cup of white sugar. And of course, our secret weapon: one tablespoon of cornstarch. A splash of good vanilla extract finishes it off.
Finally, that irresistible sopapilla topping. We’ll melt ¼ cup of unsalted butter to brush over the top. This makes a glorious cinnamon-sugar mixture (¼ cup sugar, 2 teaspoons cinnamon) stick and get all crispy and delicious in the oven.
The Step-by-Step Method: Let’s Bake!
Alright, let’s do this. I’ll walk you through every step.
Step 1: Prep the Pan and Bottom Crust
First things first, get your oven preheating to 350°F (175°C). Give your 9×13 inch pan a light spray with cooking spray.
Open one can of crescent rolls. Don’t stress about making it perfect. Just unroll the dough and press it into the bottom of the pan, creating an even-ish layer. Use your fingers to smush it into the corners and pinch together any of the seams from the perforations. This is our foundation. Easy, right?
Step 2: Make That Silky Cheesecake Filling
Now for the fun part. In a large bowl, toss in your softened cream cheese. Turn your mixer on medium and beat it for about a minute until it’s totally smooth and creamy. Scrape down the sides of the bowl. No lumps allowed!
Next, add 1 cup of the sugar and the cornstarch. Mix again until it’s all blended and looks like velvet.
Last, mix in the vanilla and the room-temperature egg. Here’s a tip: Once the egg is in, mix on low speed and stop as soon as it’s combined. If you beat it too much, you can add too much air, which can sometimes make cheesecakes crack.
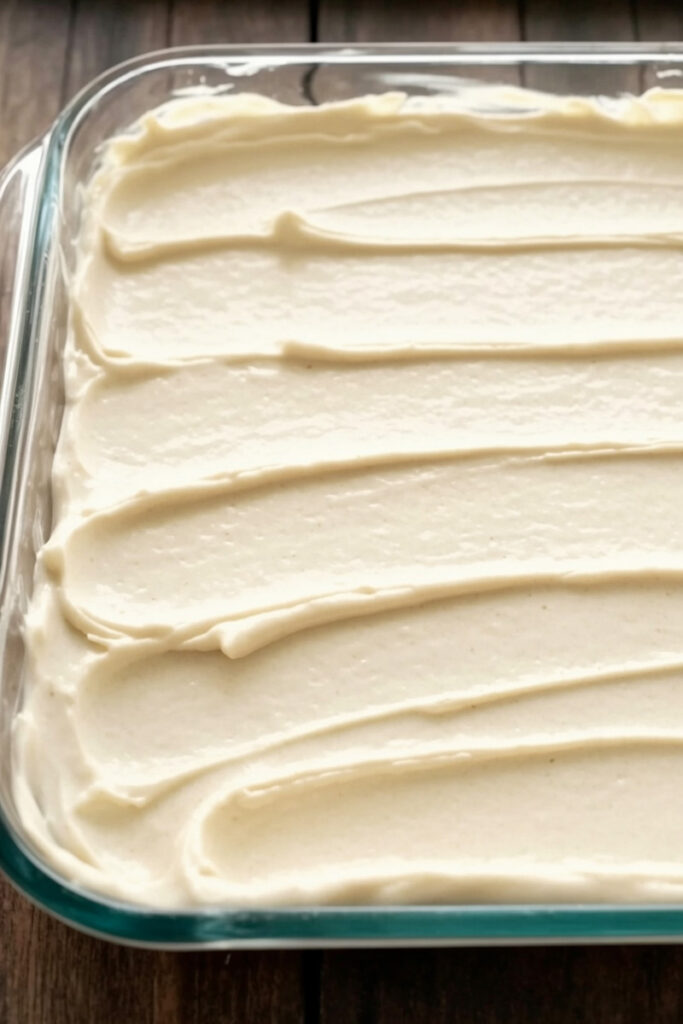
Pour this beautiful mixture right over the crescent roll crust in the pan. Use a spatula to spread it out evenly.
Step 3: Add the Top Crust & Topping
This next part can feel a little clumsy, but I have a foolproof trick. Unroll the second can of crescent rolls onto a sheet of parchment paper. Pinch the seams together. Now, just lay the dough on top of the cheesecake filling. You can use the parchment paper to help you flip it over.
Don’t worry if it lands a little wonky! You can gently stretch and nudge it into place.
Now, brush the melted butter all over that top layer of dough. Get into all the corners. In a small bowl, mix the remaining ¼ cup of sugar and the 2 teaspoons of cinnamon. Sprinkle this mixture generously over the entire buttery surface. Your kitchen is about to smell incredible.
Step 4: Bake and (The Hardest Part) Chill
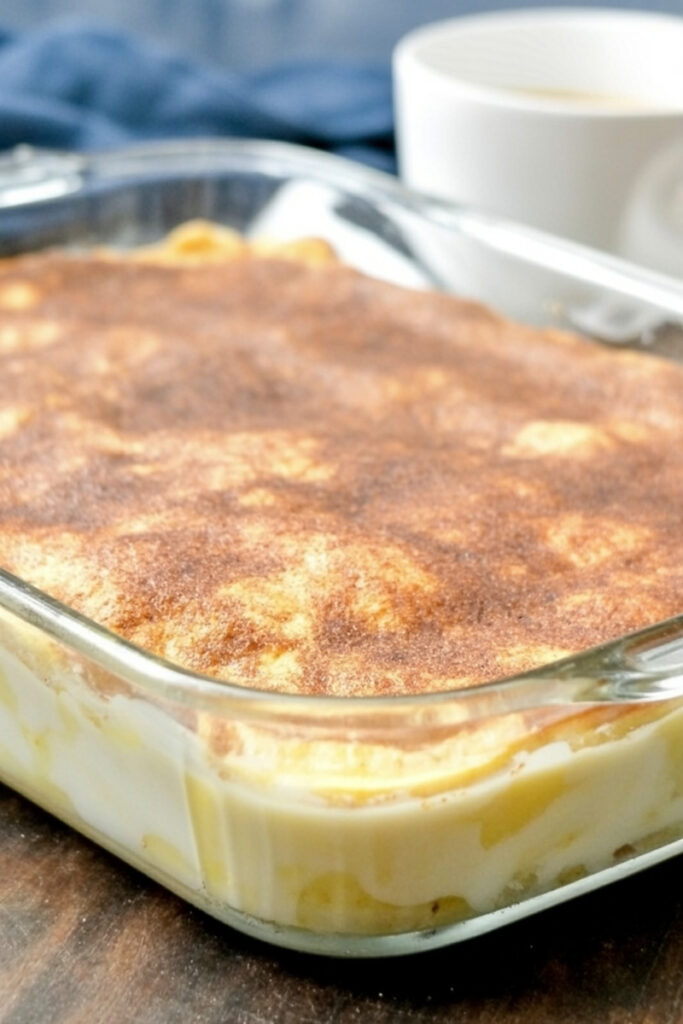
Slide that pan into the oven and bake for 35 to 40 minutes. You’re looking for a beautiful golden-brown top that’s a little puffed up. The center should be mostly set, but a tiny jiggle is perfectly okay. It will firm up as it cools down.
Take it out of the oven and let it cool completely on a wire rack. This will take at least an hour. Once it’s at room temperature, cover it and stick it in the fridge. It needs to chill for at least 3 hours. Overnight is even better.
I know. The waiting is torture. You’ll be tempted to slice into it right away. Don’t do it! This chilling time is non-negotiable. It’s when the cheesecake sets and all the flavors meld together. It’s worth the wait, I promise.
Want to Mix It Up? Make It Your Own!
Feeling creative? Go for it! This recipe is a fantastic starting point. Here are a few ideas I’ve tried and loved:
- A Zesty Twist: Add the zest of one lemon or a small orange to the cheesecake filling for a fresh, bright flavor.
- Warm & Spicy: A ¼ teaspoon of nutmeg in the cinnamon-sugar topping adds a lovely warmth, perfect for fall.
- Fruity & Nutty: Before you pour in the filling, spread a super thin layer of apple butter on the bottom crust. Or, sprinkle some chopped pecans on top with the cinnamon sugar for a fantastic crunch.
- Serving It Fancy: These bars are amazing on their own, but a dollop of whipped cream and a drizzle of honey or caramel sauce never hurt anyone.
How to Serve and Store Your Masterpiece
You did it! Time to enjoy.
For those nice, clean slices, use a long, sharp knife. The real trick is to wipe the blade clean with a paper towel between each and every cut.
Storing Leftovers: If you have any (which is a big if), store them in an airtight container in the fridge for up to 5 days. The top might get a little softer, but they’ll still be delicious.
Can you freeze them? Yes! They freeze like a dream. After they are fully chilled, cut them into bars. Place them on a baking sheet in the freezer until they’re solid. Then, wrap each bar in plastic wrap and pop them in a freezer bag. They’ll be good for up to 3 months. Just thaw one in the fridge when you get a craving.
There you have it. Everything you need to know to make the best dessert bars on the planet. I truly hope you love them. Happy baking!
PrintSopapilla Cheesecake Bars
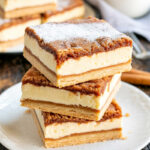
The dessert mashup you never knew you needed! Imagine a creamy, tangy cheesecake layered between two flaky, buttery crescent roll crusts, all finished with a crunchy cinnamon-sugar topping. So easy, so good!
- Prep Time: 15 minutes
- Cook Time: 40 minutes
- Total Time: 3 hours 55 minutes (+Included Chill Time)
- Yield: 15 bars 1x
- Category: Dessert
- Cuisine: American, Mexican
Ingredients
For the Crust & Topping:
- 2 (8 oz) cans refrigerated crescent rolls
- ¼ cup unsalted butter, melted
- ¼ cup white sugar
- 2 tsp ground cinnamon
For the Cheesecake Filling:
- 24 oz block-style cream cheese, softened to room temperature
- 1 cup white sugar
- 1 large egg, room temperature
- 1 tbsp cornstarch
- 1 tsp vanilla extract
Instructions
- Get Ready: Preheat your oven to 350°F (175°C). Lightly grease a 9×13 inch baking pan.
- Bottom Crust: Unroll one can of crescent dough and press it evenly into the bottom of your pan. Pinch any seams together.
- Make the Filling: In a large bowl, use a mixer to beat the softened cream cheese until it’s completely smooth. Mix in the sugar and cornstarch. Add the egg and vanilla, mixing on low speed just until everything is combined. Pour this glorious filling over the crust and spread it out.
- Add the Top: Unroll the second can of crescent dough and place it over the cheesecake filling. It’s okay if it’s not perfect!
- The Topping: Brush the top dough layer with the melted butter. In a small bowl, mix together the ¼ cup sugar and the cinnamon, then sprinkle it all over the top.
- Bake & Chill: Bake for 35-40 minutes, until the top is golden brown and puffed. Let it cool completely on a wire rack. Then, cover and pop it in the fridge to chill for at least 3 hours. This step is essential for it to set properly!
Notes
- Tips & Tricks: For the absolute creamiest filling, your cream cheese and egg must be at room temperature. This prevents lumps! Also, for perfectly clean slices, use a sharp knife and wipe the blade clean between each cut.
- Serving Suggestions: These are fantastic all on their own! You can also dress them up with a drizzle of honey, a bit of caramel sauce, or a dollop of whipped cream.
- Storage: Store leftovers in an airtight container in the refrigerator for up to 5 days. They also freeze wonderfully for up to 3 months! Just thaw in the fridge before serving.