
Hey there! Welcome.
Are you ever stuck in a dinner rut? I know I am. You stare into the fridge, see the same old ingredients, and feel completely uninspired. I had one of those nights a while back. I had a box of jumbo pasta shells and a pound of ground beef. My brain was saying, “Make stuffed shells.” My heart was saying, “Make tacos.”
And then… a lightbulb went off. Why not both?
That’s how this recipe was born. It’s the perfect answer to the question, “What’s for dinner?” Imagine cozy, cheesy baked pasta getting married to the bold, fun flavors of taco night. It’s a match made in heaven, and trust me, it’s about to become a regular in your dinner rotation.
This is the kind of meal that gets everyone to the table, smiling. It’s special enough for a Sunday dinner but easy enough for a busy weeknight.

Let’s Break It Down
Before you start, let’s get a quick look at the plan. Don’t worry, this recipe looks more complicated than it is. It’s mostly just a fun assembly project that you get to eat at the end!
| Time & Servings | Details |
| Prep Time | 10 minutes |
| Cook Time | 35 minutes |
| Total Time | 45 minutes |
| Servings | 6 (about 4 shells per person) |
| Difficulty | Pretty Easy |
Cooking for a crowd? Awesome. This recipe is super easy to double. Just grab two 9×13 inch baking dishes and double all the ingredients. One for tonight, and one for the freezer. Future you will be very grateful.
What tools will you need? Nothing fancy, I promise. You probably have it all already.
- A big pot for boiling the shells.
- A large skillet to cook the tasty filling.
- A 9×13 inch baking dish.
- Spoons for mixing and stuffing.
Want to prep ahead? This dish is a lifesaver for busy days. You can put the whole thing together, cover it, and stick it in the fridge for up to a day. When you’re ready to eat, just bake it. You might need to add 5-10 minutes to the baking time since it’s starting cold.
What You’ll Need
The best part about this dish is that it uses simple, everyday ingredients to create something that tastes anything but ordinary. Let’s go over the shopping list.
The star of the show, of course, is the jumbo pasta shells. You’ll need about a dozen, but I always cook extra just in case a few tear. For the filling, we’ll use one pound of extra-lean ground beef. Using lean beef is a great trick—it means less grease, so the flavor really shines through.
Next, our spices. We’re keeping it simple with chili powder, smoked paprika, and ground cumin. My little secret? The smoked paprika. It adds a deep, smoky flavor that you just can’t get from the regular kind. It really makes a difference. And of course, we need our flavor foundation: a medium onion and a couple of cloves of garlic.
To make the filling rich and creamy, we’ll add sour cream and a Tex-Mex cheese blend. I love the pre-shredded Tex-Mex bags because they have a great mix of cheeses that melt perfectly. And to create a delicious base for our shells to sit in, you’ll need a jar of your favorite salsa. Think of it as a little flavor blanket that also keeps the pasta from sticking.
Finally, just a few basics: olive oil, salt, and pepper.
Let’s Get Cooking! Step-by-Step
Alright, ready to make some magic? Let’s do this.
Step 1: Get the Pasta Ready
First things first, the shells. Get a big pot of water boiling. Once it’s rolling, add a good amount of salt. You want it to taste like the ocean. This seasons the pasta from the inside out.
Gently drop in your jumbo shells. Cook them until they are al dente, which means they still have a little bite. Check the package, but it’s usually around 9-10 minutes. Don’t overcook them! Mushy shells are a nightmare to stuff. Once they’re done, drain them and rinse them with cool water to stop the cooking. This also makes them cool enough to handle.
Step 2: Make That Amazing Filling
While the pasta is boiling, let’s work on the filling.
Heat some olive oil in a large skillet over medium-high heat. Add your chopped onion and cook it for about 5 minutes until it’s soft and starting to get a little color. Now, toss in the minced garlic. This is when your kitchen will start to smell incredible. Cook for about 30 seconds until you can smell the garlic. Just be careful not to let it burn.
Next, add the ground beef. Break it up with a spoon and sprinkle in the chili powder, smoked paprika, and cumin. Cook for about 8 minutes, until the beef is all browned. If you see a lot of extra grease in the pan, carefully drain most of it out.
Step 3: Make it Creamy & Start Stuffing
Here’s where we take the filling to the next level. Take the skillet off the heat. This is a key step. It keeps the sour cream from getting weird and separating.
Stir in the sour cream and about half of your cheese. Keep stirring until the cheese is melted and everything is blended into a beautiful, creamy mixture. Give it a taste and add salt and pepper if you think it needs it.
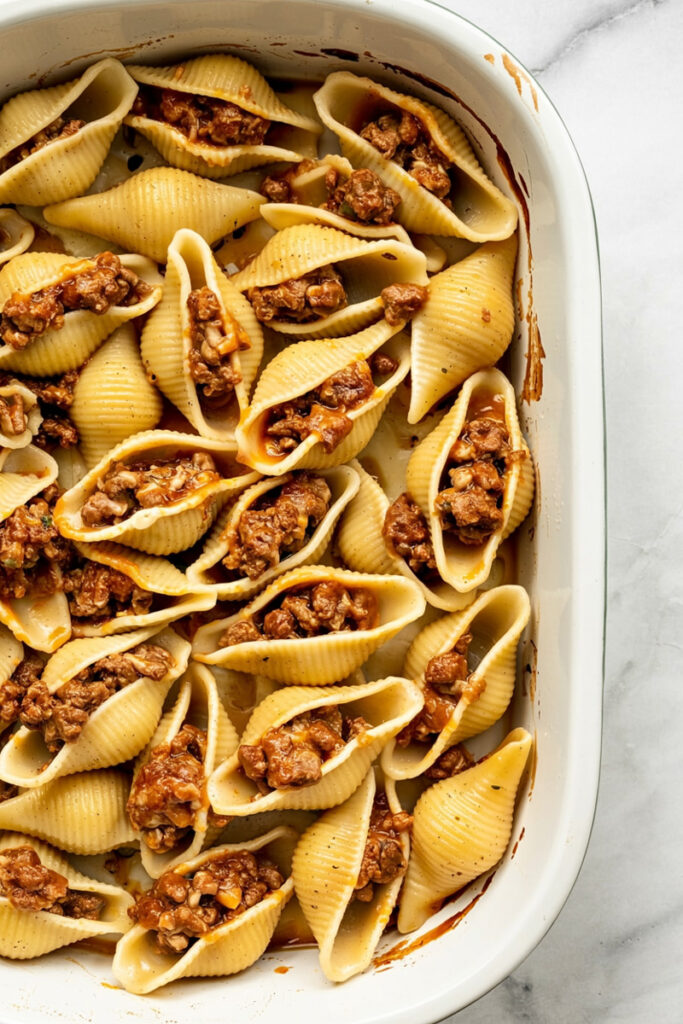
Now for the setup. Preheat your oven to 375°F. Pour the whole jar of salsa into the bottom of your 9×13 baking dish and spread it out evenly.
It’s time for the fun part! Take a small spoon and fill each cooled pasta shell with that delicious meat mixture. Don’t be shy; stuff them full. As you finish each one, nestle it, opening-side up, into the salsa in the baking dish.
Step 4: Bake to Bubbly Perfection
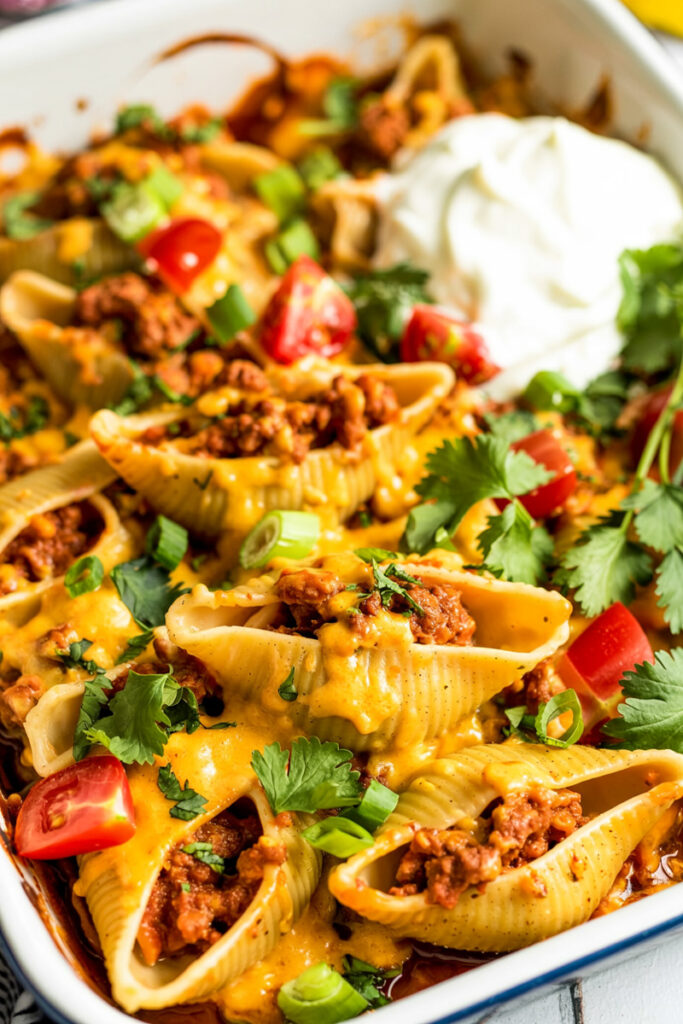
Your masterpiece is assembled! Sprinkle the rest of the cheese all over the top of the shells.
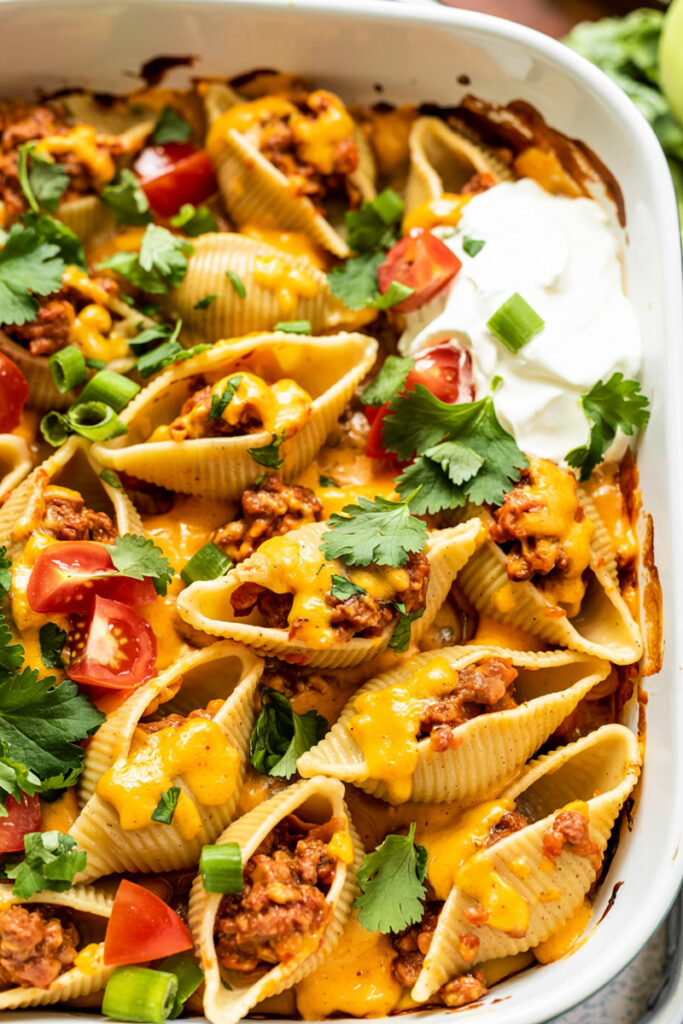
Bake it, uncovered, for about 20 minutes. You’ll know it’s done when the cheese is melted and bubbly and the salsa around the edges is simmering away.
Pro tip: If you like your cheese extra brown and crispy on top, switch the oven to broil for the last 2-3 minutes. But watch it like a hawk. It can go from golden-brown to burnt in the blink of an eye.
Don’t Be Afraid to Mix It Up!
This recipe is a great starting point, but feel free to make it your own. It’s hard to go wrong! Here are a few ideas I’ve tried:
- Switch up the protein: Ground turkey or ground chicken work great for a lighter version. Spicy chorizo is also amazing if you want an extra kick!
- Go vegetarian: It’s easy! Just swap the beef for a can of black beans (rinsed and drained) or your favorite plant-based ground “meat.”
- Add more veggies: Stir a cup of frozen corn or a can of black beans into the meat mixture for extra texture and fiber.
- Adjust the heat: If you love spicy food, add a chopped jalapeño with the onion or use a hot salsa. If you prefer it mild, just use mild salsa and chili powder.
Time to Eat! Here’s How to Serve It Up
The best part is finally here. You can bring the whole sizzling dish right to the table for everyone to admire. I like to sprinkle some fresh cilantro or chopped green onions over the top.
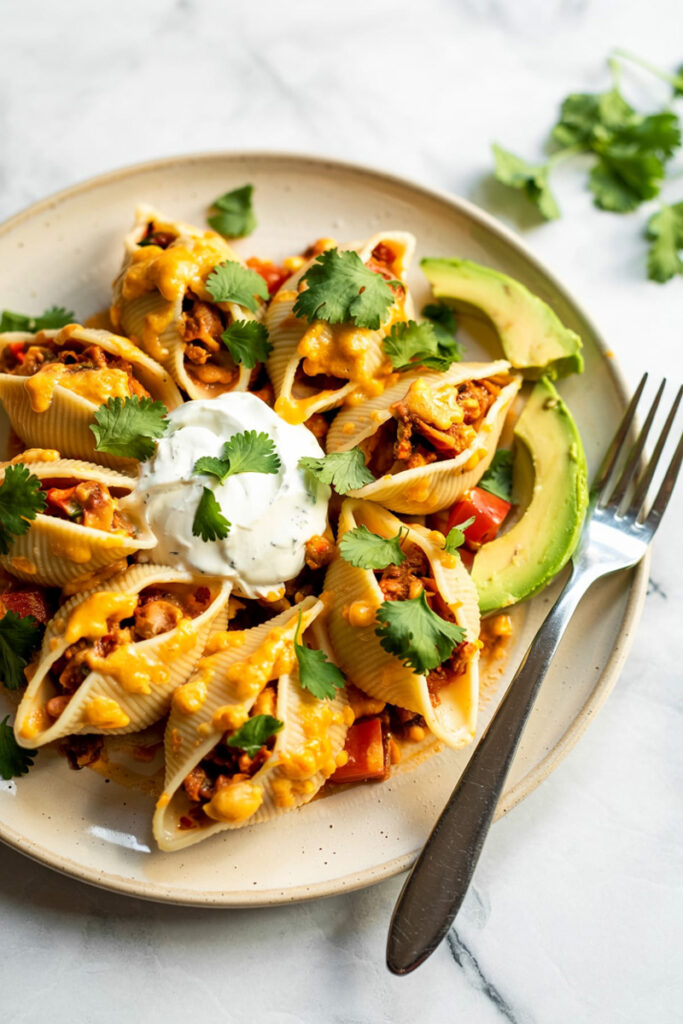
I highly recommend setting up a little toppings bar on the side. It makes dinner feel more fun and everyone gets to build their perfect bite. Our family’s favorites are:
- A dollop of sour cream
- Diced avocado or guacamole
- More salsa
- Sliced black olives
- Crushed tortilla chips for some crunch
These shells are pretty hearty on their own, so you don’t need much on the side. A simple green salad with a zesty lime dressing is perfect.
What about leftovers? The good news? They’re fantastic. Store them in an airtight container in the fridge for up to 3 days.
Can you freeze it? Absolutely. This dish freezes beautifully. Just assemble the whole thing but do not bake it. Cover it tightly with plastic wrap, then a layer of foil. It will keep in the freezer for up to 3 months. When you’re ready to eat, you can bake it right from frozen. Cover it with foil and bake at 375°F for about 45-50 minutes, then take the foil off and bake for another 10-15 minutes until it’s hot and bubbly.
I really hope you and your family love this dish as much as we do. Happy cooking!