
Optimizing multimedia integration within presentation software is paramount for impactful delivery. When embedding video files into PowerPoint, the choice of video container significantly influences playback quality, compatibility, and file size. Understanding the nuances between different video container formats, such as MP4 (H.
Understanding the nuances between different video container formats, such as MP4 (H.264/AAC) and WMV, is crucial for ensuring a smooth user experience. Selecting the best video container for PowerPoint can prevent common issues like stuttering playback, audio desynchronization, and an inability to render the video altogether.
This guide delves into the optimal video container options to elevate your PowerPoint presentations beyond static slides and static images.
Find Your Perfect PowerPoint Video Match
1. TEACHUCOMP Video Training Tutorial for Microsoft PowerPoint 2013 DVD-ROM Course

Unlock your presentation potential with TEACHUCOMP’s comprehensive video training for Microsoft PowerPoint. This comprehensive course transforms beginners into proficient users, guiding you through every feature with crystal-clear audio and visual instruction.
Designed for learners of all levels, this extensive training covers introductory concepts to advanced techniques, boasting over six hours of engaging video content divided into 101 distinct lessons. Accompanied by a PDF manual and optional assessments, it provides a thorough learning experience designed for practical application.
Pros
- Over 6 hours of in-depth video instruction, breaking down complex features into manageable, bite-sized lessons.
- Includes a valuable PDF instruction manual, offering supplementary material and a handy reference guide.
- Features quizzes and an optional final exam to solidify learning, with a certificate of completion for motivation.
- Covers material from introductory basics to advanced functionalities, ensuring a well-rounded understanding of the software.
Cons
- The training is specifically for PowerPoint 2013, meaning it may not cover the newest features found in later versions.
This DVD-ROM course is an excellent resource for anyone looking to master Microsoft PowerPoint’s capabilities. Whether you’re new to presentations or seeking to refine your skills, the structured lessons and extensive content provide a solid foundation for creating professional and engaging visual content.
2. VIDBOX Video Conversion Suite
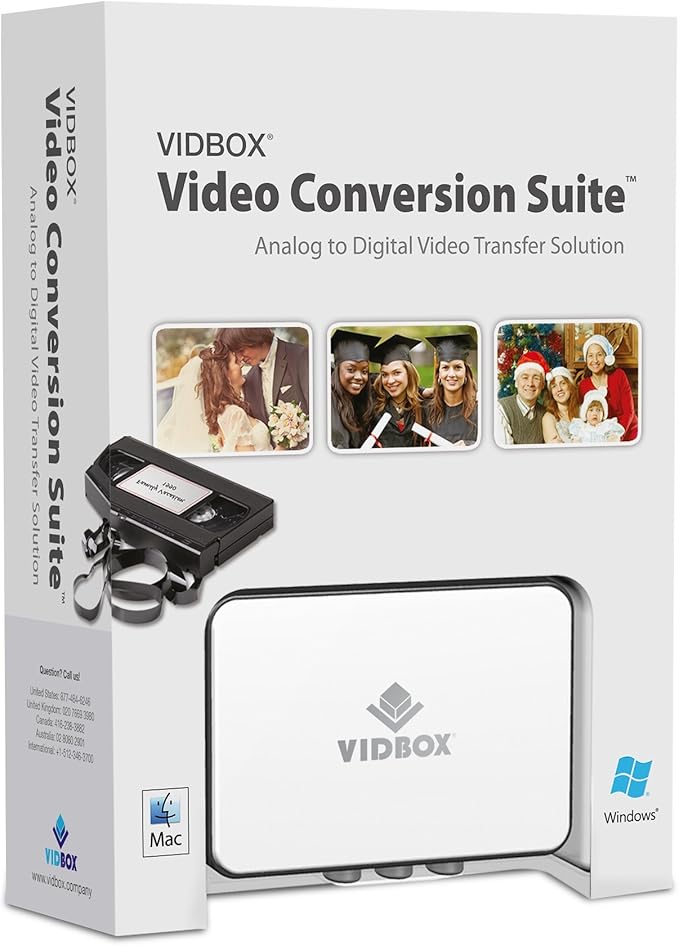
Preserve your cherished memories and breathe new life into old video formats with the VIDBOX Video Conversion Suite. Effortlessly transform beloved VHS, Beta, 8mm tapes, and camcorder footage into enduring digital files or DVDs, ensuring your past is accessible for generations to come.
This comprehensive conversion suite, compatible with both Windows PC and Mac, simplifies the digitization process. It includes a USB video capture device, necessary cables, and clear, step-by-step pictorial instructions, making it an ideal solution even for novice users. Capture content from a wide array of video sources, including VCRs, camcorders, TVs, and game consoles.
Capture content from a wide array of video sources, including VCRs, camcorders, TVs, and game consoles.
Pros
- Broad Device Compatibility: Seamlessly capture footage from a vast range of video players like VCRs (VHS, Betamax), camcorders (8mm, DV, mini DV, HDV, AVCHD), televisions, DVD players, and game consoles, offering exceptional versatility.
- User-Friendly Interface: Designed with beginners in mind, the suite features step-by-step pictorial instructions that demystify the conversion process, making it accessible to everyone.
- Dual Platform Support: Whether you use a Windows PC or a Mac, the VIDBOX Video Conversion Suite is engineered to be fully functional, providing flexibility for different user setups.
Cons
- Additional Hardware Required: While the suite provides the capture device, users will need a separate DVD writer to burn discs and potentially player-specific cables depending on their video source.
The VIDBOX Video Conversion Suite stands out as an efficient and straightforward solution for anyone looking to archive their video collection. Its intuitive design ensures that even those less familiar with video technology can successfully preserve their treasured moments, making it an excellent choice for safeguarding family history.
3. VIDBOX Video Conversion for Mac

Rediscover your cherished memories by converting old video tapes into modern digital formats. The VIDBOX Video Conversion for Mac makes preserving precious VHS, Beta, 8mm, and camcorder footage effortless, transforming them into easily shareable MP4 files for your Mac.
This essential device allows you to capture analog video directly to your Mac, enabling seamless editing with iMovie. Enjoy your digitized memories on personal devices and share them with loved ones, ensuring your analog past lives on in a digital present.
Pros
- Effortlessly converts a wide range of analog formats (VHS, Beta, 8mm, camcorder) into digital MP4 files.
- Integrates smoothly with iMovie for intuitive video editing after capture.
- Enables easy playback and sharing of digitized video content on various personal devices.
Cons
- Requires a Mac for operation and software use.
The VIDBOX Video Conversion for Mac is the perfect solution for anyone looking to digitize their analog video collection. For Mac users wanting to preserve irreplaceable memories, this tool offers a straightforward and effective pathway to a digital archive.
4. ClearClick HD Video Capture Box Ultimate 2.0 (Second Generation) –

Unlock your creative potential with the ClearClick HD Video Capture Box Ultimate
Experience the freedom of capturing HD video at up to 1080p60 with audio, or even live stream using your PC and OBS software (Windows only). For older media, reliably capture SD video from VHS, DVD, and camcorders directly to MP4 format without needing a computer.
Pros
- Capture high-definition video up to 1080p60 with crisp audio, and even accept 4K30 input sources for maximum versatility.
- No computer is needed for direct recording to SD card, USB flash drive, or USB hard drive, thanks to the integrated 7″ preview LCD screen.
- Preserve your analog media by capturing SD quality video from VCRs, DVD players, and camcorders with clear audio transfer.
- Benefit from a 2-year warranty and dedicated tech support from a USA-based small business, ensuring peace of mind with your purchase.
Cons
- Content-protected or copyrighted HDMI sources will result in a black screen and cannot be captured or streamed.
The ClearClick HD Video Capture Box Ultimate 0 stands out as an ideal solution for archivists, content creators, and anyone looking to digitize old media or stream gameplay.
Its dual functionality, computer-free operation, and extensive input options make it a powerful tool for a wide range of video projects.
5. 7″ IPS Video Brochure, A5 Soft Backed, Upload Your Own,

Transform precious memories into a dynamic visual experience with the 7 IPS Video Brochure. This innovative A5 soft-backed book allows you to upload your own photos and videos, creating a deeply personal and engaging way to relive special celebrations and milestones. Experience your moments like never before.
Experience your moments like never before.
Featuring a vibrant 7-inch IPS HD screen, this digital photo frame offers stunning clarity for your uploaded content, ideal for birthdays, weddings, and anniversaries. With 4GB of internal storage, capable of holding approximately 4 hours of video, and a user-friendly drag-and-drop interface, updating your memories is effortless. The rechargeable battery provides up to 4 hours of playback on a single charge.
The rechargeable battery provides up to 4 hours of playback on a single charge.
Pros
- High-Definition Visuals: The 7-inch IPS HD screen delivers crisp and clear images and videos, making your memories truly come alive.
- Spacious Storage & Re-recordable: With 4GB of memory, you can store a significant amount of content, and the ability to re-record means you can update the brochure with new memories anytime.
- Exceptional Keepsake or Gift: Its unique format makes it a perfect personalized keepsake for yourself or a thoughtful, unforgettable gift for loved ones for any occasion.
- Simple Operation: Easily upload content via a USB connection with a straightforward drag-and-drop process, and enjoy up to 4 hours of playback on a single charge.
Cons
- While compatible with popular formats like MP4, MOV, and AVI, optimal performance is achieved when graphics are formatted to 1024×600 pixels, requiring a minor adjustment for some users.
This re-recordable HD video book is more than just a digital frame; it’s a narrative captured in motion. Ideal as a heartfelt gift or a personal treasure chest of memories, it offers a modern and impactful way to preserve and share life’s significant moments.
Choosing the Best Video Container for PowerPoint
Understanding video file types
The suitability of a video file for presentation software hinges significantly on its underlying format and the codecs it employs.
Understanding these technical distinctions is vital because the wrong video type can lead to playback errors, poor visual quality, or even prevent your video from appearing in your slideshow at all, undermining your entire presentation.
While PowerPoint generally exhibits broad compatibility, it functions best with certain standards.
- MP4 (MPEG-4): This is overwhelmingly the recommended format for presentations. It offers a great balance between file size and quality, leveraging efficient codecs like H.264 to ensure smooth playback across most systems without significant degradation. Its widespread adoption makes it a reliable choice.
- MOV (QuickTime File Format): Often associated with Apple devices, MOV files can also work, but compatibility can be less consistent than MP4, particularly on Windows machines, unless specific codecs are installed.
- WMV (Windows Media Video): Native to Windows, WMV can perform well, but again, cross-platform playback might be an issue.
- AVI (Audio Video Interleave): An older format, AVI can result in very large file sizes and may not be supported by all versions of PowerPoint or may require specific, sometimes less common, codecs.
For the most seamless experience and broadest compatibility, especially when sharing your presentation with others, opting for an MP4 file is the most strategic decision. However, if you’re working exclusively within a Windows environment and have ensured the necessary codec support, WMV is a viable alternative.
For presentations originating from or intended for Apple ecosystems, MOV might be considered, though an MP4 conversion is still often preferable for maximum reach.
Compression and file size
The level of video compression applied significantly dictates the final file size and, consequently, the presentation’s overall performance.
Striking an optimal balance between visual fidelity and manageable file size is paramount for ensuring your video content integrates seamlessly into presentations without causing performance issues. Overly compressed videos may exhibit noticeable artifacting, blurring, or pixelation, detracting from your message’s professionalism. Conversely, uncompressed or lightly compressed videos can result in excessively large files, leading to lengthy export times and potential playback lag or stuttering during your presentation, especially on less powerful hardware.
Conversely, uncompressed or lightly compressed videos can result in excessively large files, leading to lengthy export times and potential playback lag or stuttering during your presentation, especially on less powerful hardware.
Fortunately, numerous tools exist to help you re-encode your videos effectively. Software like HandBrake, VLC Media Player, or even built-in operating system features offer robust options for adjusting bitrates, codecs (e.g.
g., H.264, H.
265), and resolution to achieve your desired file size without sacrificing crucial visual details. Experimenting with different presets and settings will allow you to find the sweet spot that delivers crisp visuals and smooth, uninterrupted playback, guaranteeing a polished and impactful delivery.
Integration and embedding techniques
Seamless integration and efficient playback are paramount for impactful presentations.
The way video content is incorporated into your slides dictates not only the viewer’s experience but also the overall stability and portability of your presentation file. Understanding the nuances between directly embedding videos versus linking to external files is key. Direct embedding ensures the video travels with your presentation, eliminating the risk of broken links if the original file moves or is deleted, but can significantly increase file size.
Direct embedding ensures the video travels with your presentation, eliminating the risk of broken links if the original file moves or is deleted, but can significantly increase file size. Conversely, linking conserves space but requires careful management of the source video. Anticipate potential playback issues, such as unsupported codecs or performance lag, which can often be resolved by converting videos to widely compatible formats like MP4 with H.
264 encoding before import. Furthermore, optimizing video resolution and bitrate is crucial for smooth playback across various devices without sacrificing quality. Finally, robust accessibility is a non-negotiable; ensure your chosen method supports closed captions and transcripts, making your multimedia content inclusive for all audience members.
Performance and playback considerations
Ensuring your video content plays flawlessly is paramount to a polished presentation.
Playback performance dictates the user experience, directly influencing audience engagement and the overall professionalism of your slideshows. Suboptimal video integration can lead to jarring interruptions, frustrating loading times, and a diminished impact on your message.
Consider the system requirements for smooth playback; a presentation running on an older or less powerful machine may struggle with high-resolution or complex video formats. It is essential to test video performance on a variety of devices that your audience might encounter, from high-end desktops to tablets and even mobile phones.
For large video files, employ strategies like judicious compression or utilizing cloud-based streaming if applicable to prevent lengthy load times and minimize potential for errors. Prioritizing formats known for broad compatibility and efficient rendering will help ensure consistent playback across all your presentations, regardless of the playback environment.
Quick Best Video Container For Powerpoint Buying Checklist
- Format Compatibility: Ensure your chosen container is universally recognized by PowerPoint.
- File Size Optimization: Select options that offer good compression without sacrificing visual clarity.
- Playback Smoothness: Prioritize containers known for seamless playback to avoid stuttering.
- Codec Support: Verify support for essential video codecs like H.264.
- Embedding vs. Linking: Understand the implications of each method for portability.
- System Performance: Consider how the video container impacts your computer’s processing power.
Frequently Asked Questions (FAQ)
What Is The Most Recommended Video Container For Powerpoint?
MP4 using the H.264 codec is generally the most recommended as it offers excellent compatibility and reasonable file sizes for PowerPoint presentations.
Will Any Video Container Work In Powerpoint?
While PowerPoint supports many formats, some older or less common containers might not embed or play correctly, leading to presentation issues.
How Does Video Container Choice Affect My Presentation File Size?
Different containers and codecs compress video data differently, significantly impacting the final size of your PowerPoint file and the embedded video.
Should I Embed Or Link My Video Files In Powerpoint?
Embedding the video makes your presentation a single, portable file, while linking requires the video file to be present in the same folder to play.
Where Can I Find Tools To Convert Videos To A Powerpoint-Friendly Container?
Many free online converters and desktop software options, like HandBrake or VLC Media Player, can help you convert videos into compatible formats.
Final Verdict
Selecting the right video container is crucial for a polished PowerPoint presentation. By prioritizing compatibility, quality, and ease of use, you ensure your message is delivered without technical hiccups.